

actually, this is no big deal but I wanted to share steps by steps so that the juniors can learn from this -
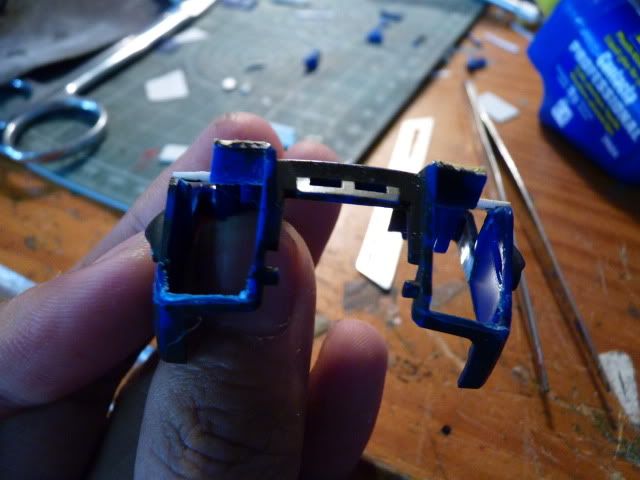
Step 1 - Right, in this step one, What I did was mask off the parts of the armour that I don't want to cut, YET, and cut off the peices of armour that I wanted to and it became like so
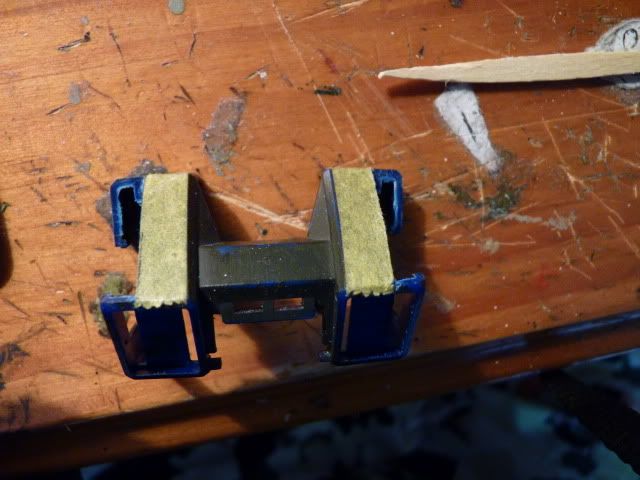
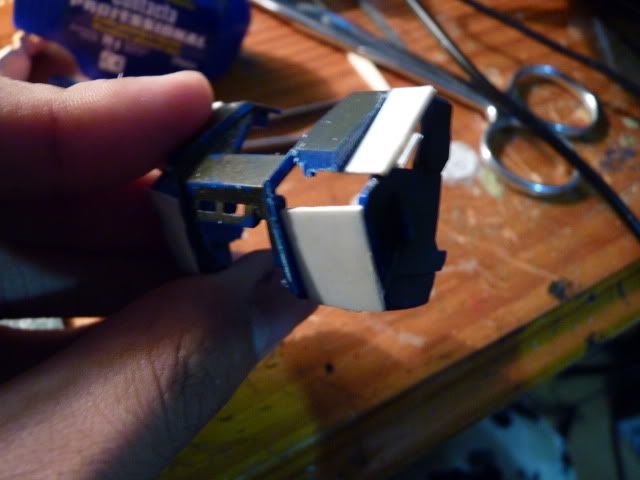
Step 2 - I looked at the chest and the orginal chest was too protuding and I wanted to have a much more .. eh... less inclined surface so I began to reshape the chest by starting with this
Step 3 - Hollow out the lower portion of the chest armour and trim a little bit of the arrmour ( you can see the jagged edges around )
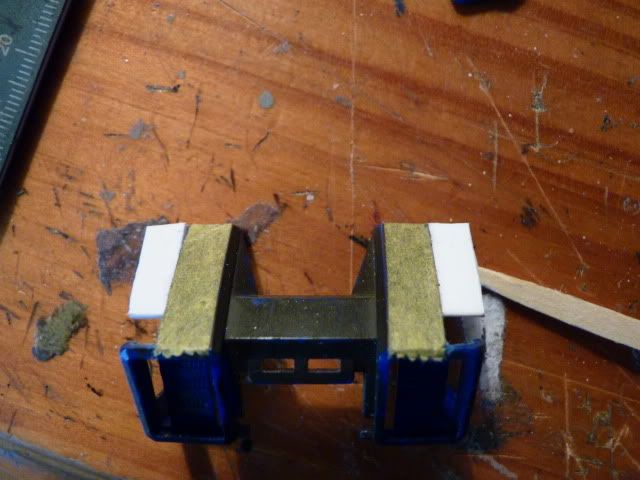
Step 4 - Reused the base kit for the sides of the armour
Step 5 - Closed off the lower portion like so
Step 6 - Shaved off the rest of the parts of the upper part ( the areas beside the pla pates )

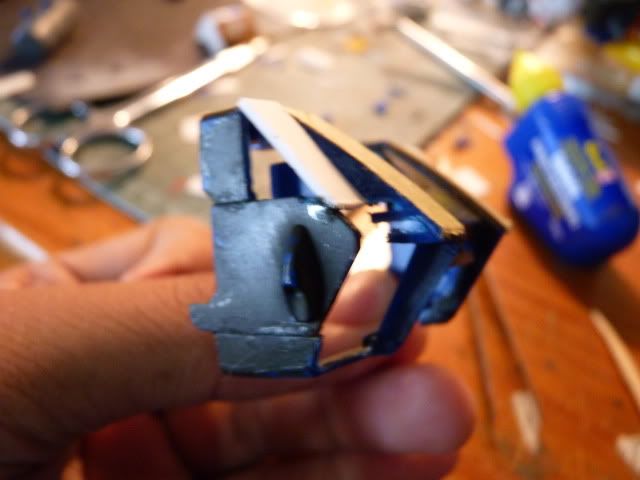
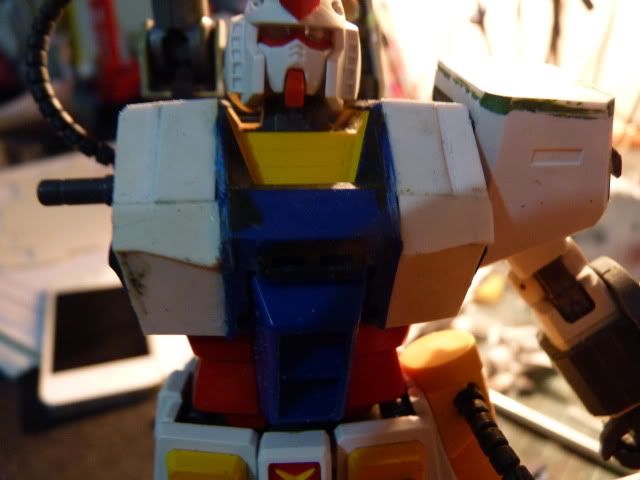
Step 7 - plated again to a less inclined degree
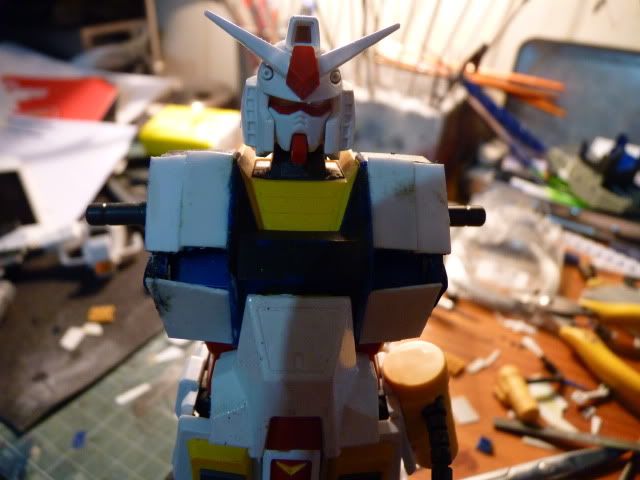
step 8 - and closed off the gaping hole like so.... with a little of some shapes instead of just plain looking shapes
I know this is really really really a basic steps and whatnots but I Spent 16 hour, thinking this through and carrry this out and Since the reshaping still has access to the detachable ability, I wanted to do a step by step to share it with you guys, naturally, share it with juniors..
Hope i didn't bore you guys out ... Stay Tuned
0 comments:
Post a Comment