

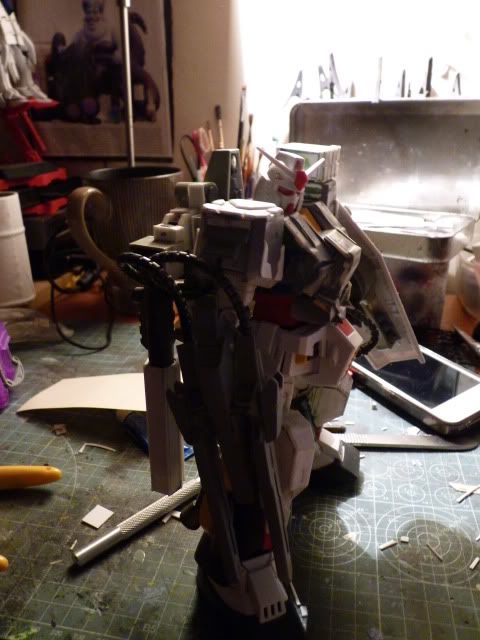
First of all, I did this
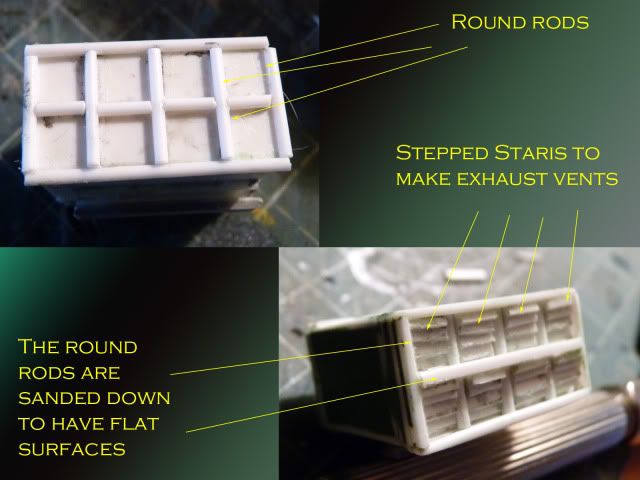
As you can see, I put in some exhaust for the smoke for the missile launcher, I know they are not perfect and kinda not identical but don't worry, I am planning to fix it anyway I can... LOL
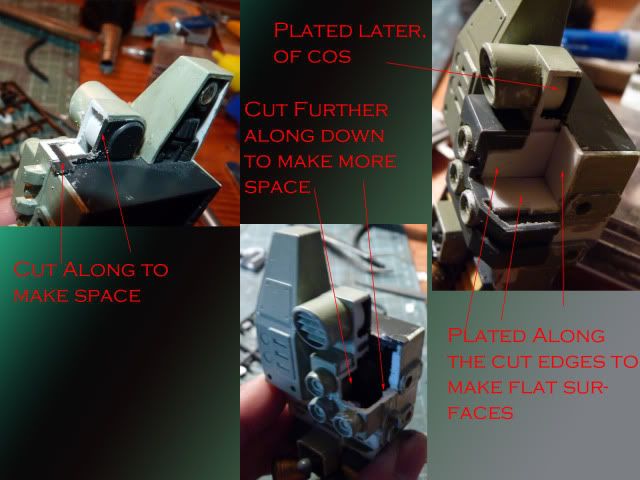
next is the cannon ... I was looking into it and I look very very plain and very very under-powered so I decided to up-gun it .... and I will show you step by step what I did ...
Step 1
I made the first base layout for the cannon barrel

Do u see the round rods between each plates?
Those were added in so that I don't have to go through the tedious job of filling in the gap with putty... ( and It works )
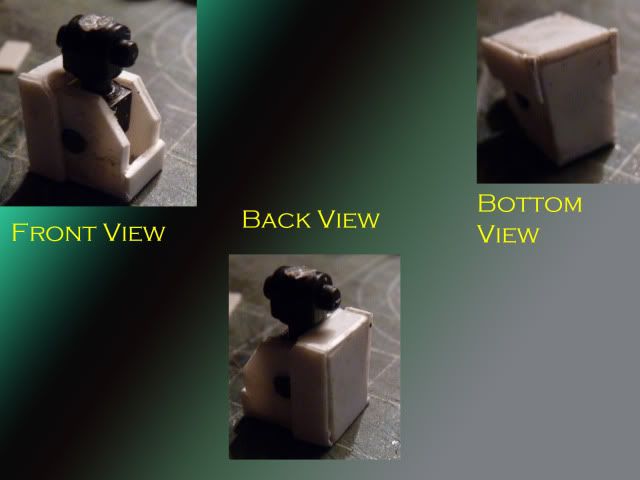
Step 2 -
Added the sides of the barrel.. and just like the lower part.. the little ridges added by using the round rods
Step 3-
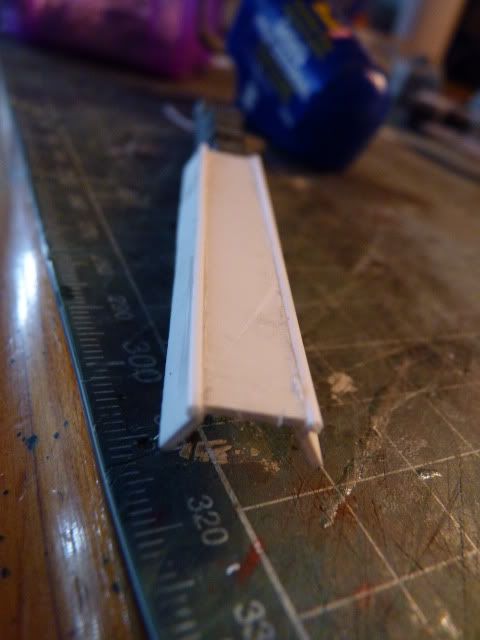
Closed the upper part ... added round rod in the gaps between the edges of the plates, and I got this ...
Next up... I did this for something that I have been planning ....
after making that little space.... I make this little device -
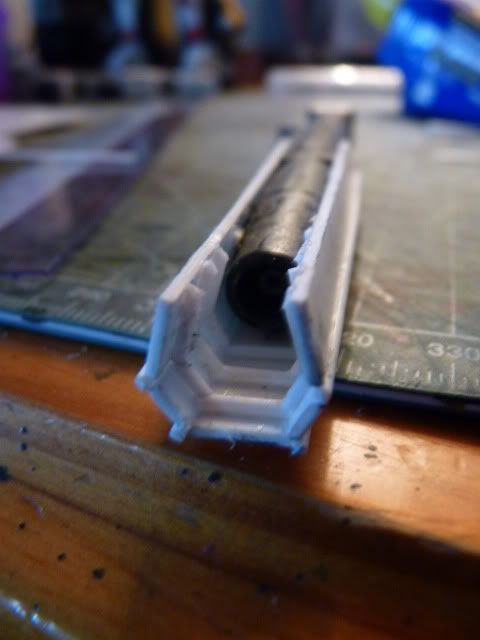
which can do this when an adapter is used -
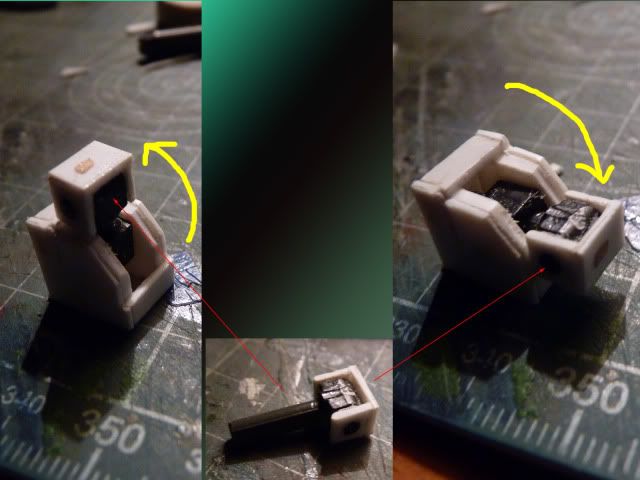
Why this device you ask??? it is for this ..... ''BOOM ''
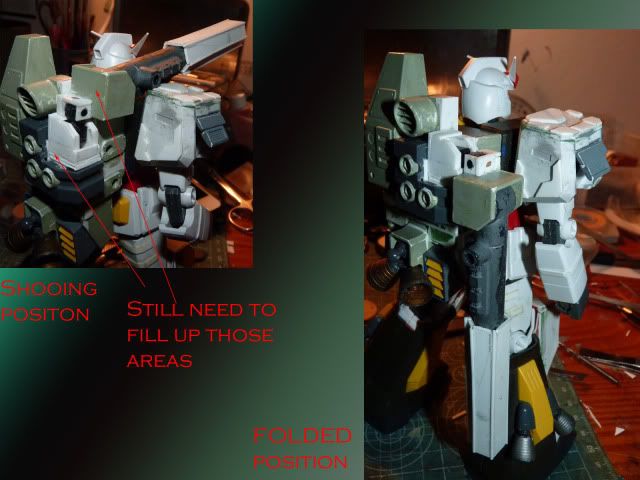
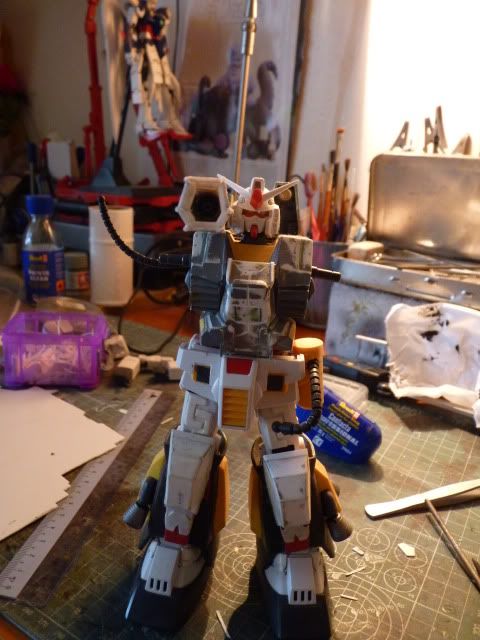
Test fit -
There you go... I still need to finalize the works ... still need to do some touch up on so many areas...
This is just the first process
oh and before any one else ''troll'', I got that idea of the inside of the cannon from the Virtue/Serevee's Bazooka ....
Thank you so much for reading and as ever, great appreciation for the support
Stay Tuned guys... There will be more.. I promise
0 comments:
Post a Comment