

Right... the first thing I did was I extended both the length and width of all skirts ...
Here is the front and the back skirts
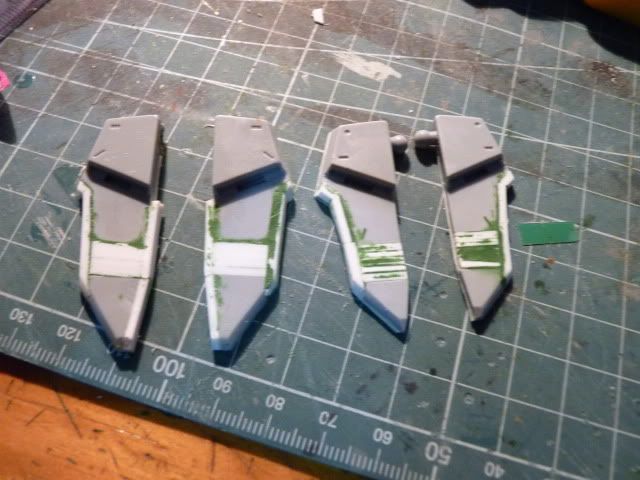
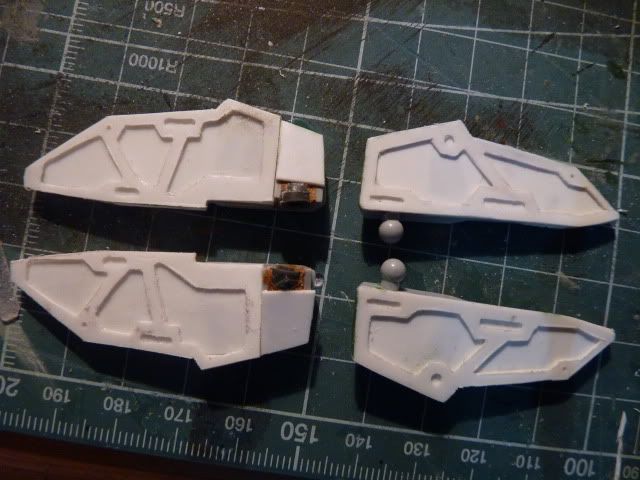
For the side skirts, It was rather tricky as I had to compensate for the dragoons on there ...
So the first thing I did was cut out those long plates which will be used as the base

After that, I cut up more ''Follow up'' pieces which will form part of the upper surface of the side skirts
When combined together, they turn into something like this
I also glued a plate under each skirts (front and back) to in preparation for what I'm about to do next

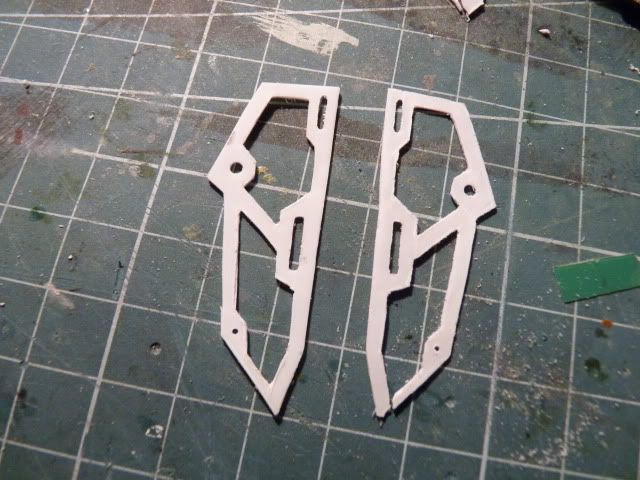
After that, Spent 16 hours designing and cuttings those babies .. although these designs are identical copies, I have to admit and give credit to GondorDestiny of Plamo for inspiring me and motivate with to work on those .. Thank you GondorDestiny
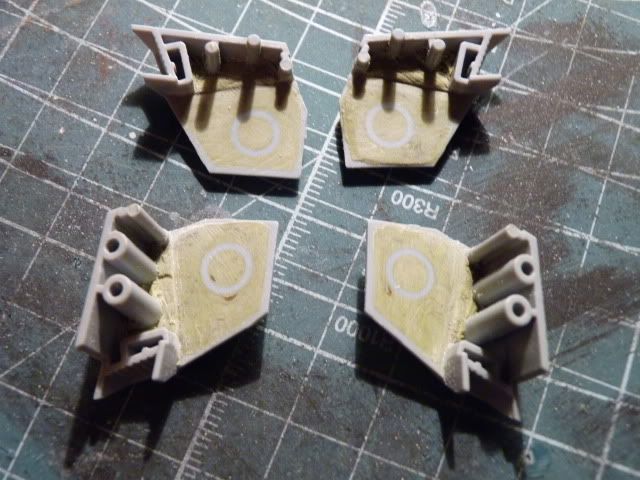
Moving on , this is the inner details of the front -
And this is the inner details of the back -

And this the inner details of the side skirts -
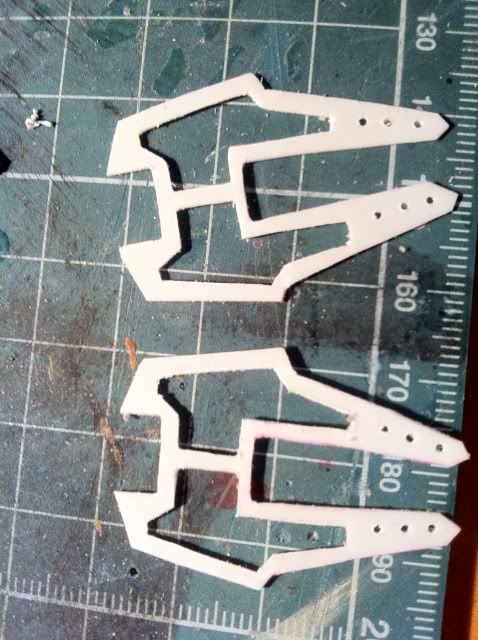
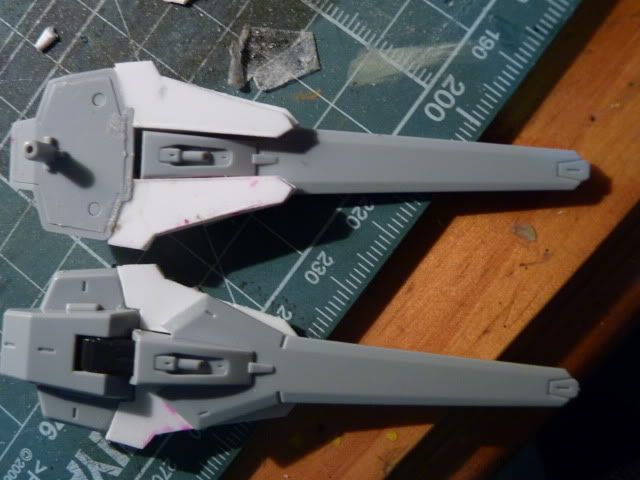
And after spending so many hours, I finally got this (this is the front and back) -
and these are the sides -
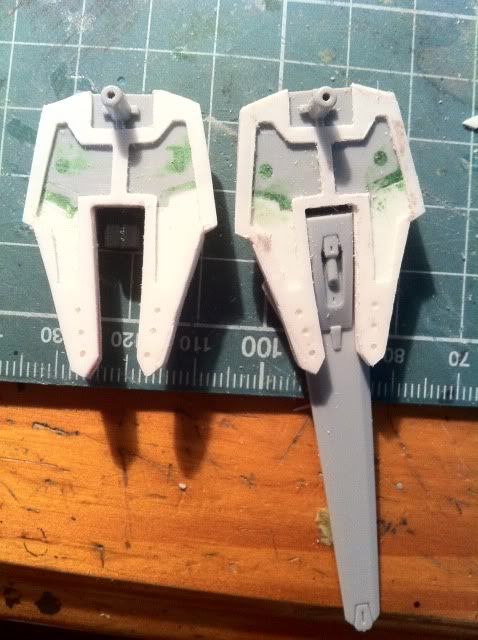
And I decided to put on some tiny details ... will scribe some lines later

I also Built a little extension to the back
This is the lower part of the extension .. I will do something about the hole.. Maybe some vents or something... We'll see

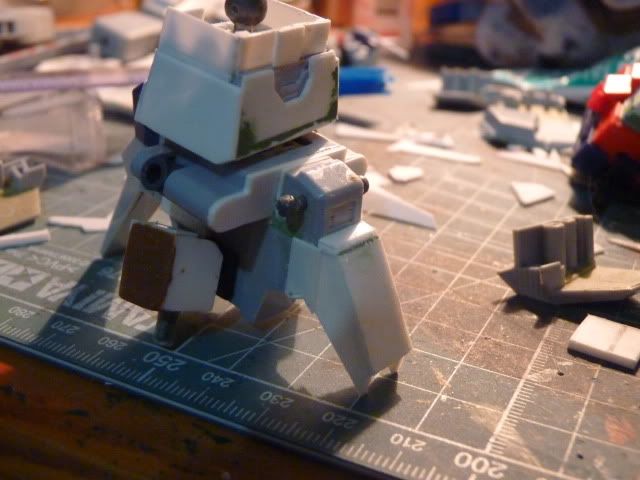
Coming next, I filled the inner part of the shoulder with Milliput ( in case you guys don't know what it is, its a two part epoxy putty) so that I can make a MG shoulder
After that, I need to drill holes so that the shoulder flap can be inserted ...
and lessons learned from the Nataku, I made sure I didn't mess up the flaps this time ....
Back then, I messed it up by the rod not aligning correctly... So in order to avoid that, I had to take some long way around ..
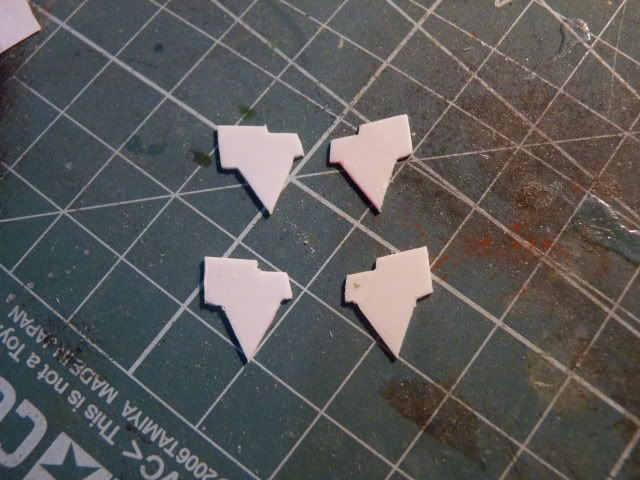
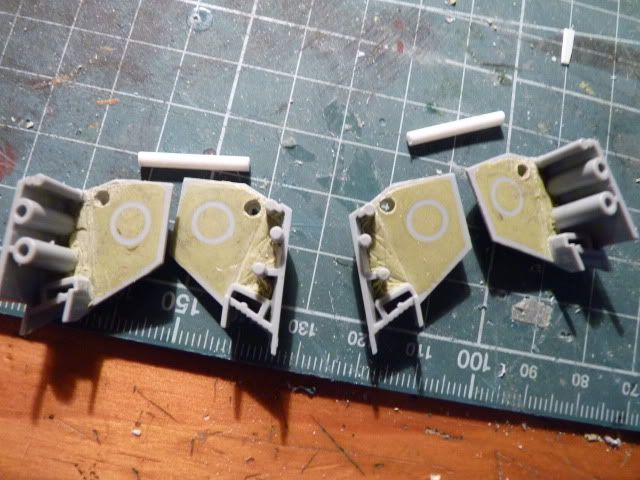
First, I make 4 identical pieces with the hole in the exact same place

The reason being that once those pieces are glued ( temporarily ) like so on to the shoulders ,

I can just drill slots/holes down the putties of the inner shoulders ( guided by those PS templates) and it will come out nice and tidy, without fear of the flap being ''off''
like so -
The shoulders are still in their very early stage but more work will be done on them, I promise you.
I hope I don't bore you guys out with the excessive details and pictures and explanations ...
You have been a great audience. Stay Tuned for more.
Looking good bro.. love the back portion design!
ReplyDeleteI hope you can make SBied Front Skirt with a ball joint someday.
I don't know how will i attach my Hyaku SBied Front Skirt.