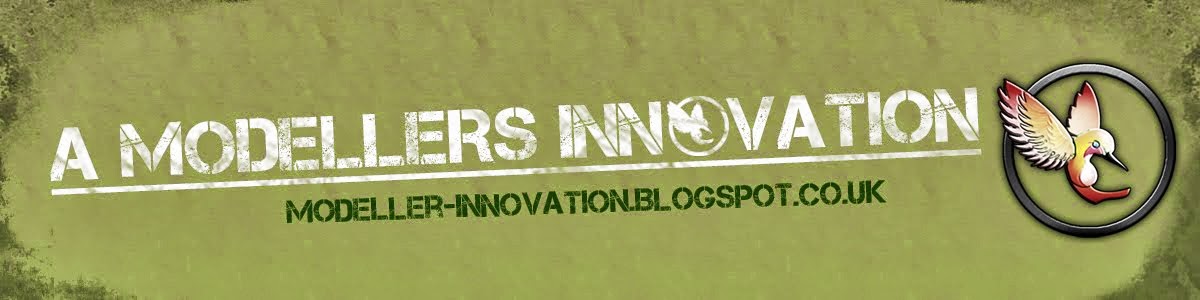

Last time, I left off with the first colour applied.
I masked that and put on the second colour and then masked it again -
After 2 day of rest and masking, I managed to put on the third colour -
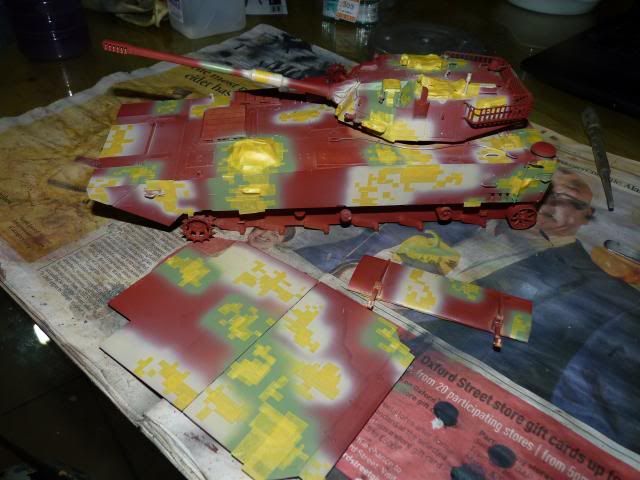
And finally masked the third colour before I can apply the main base -
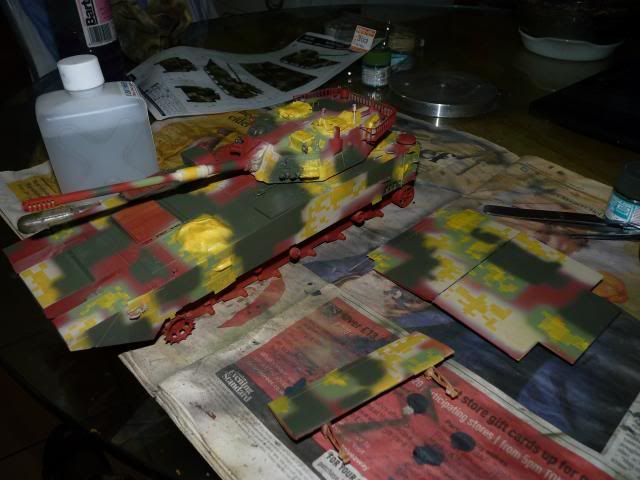
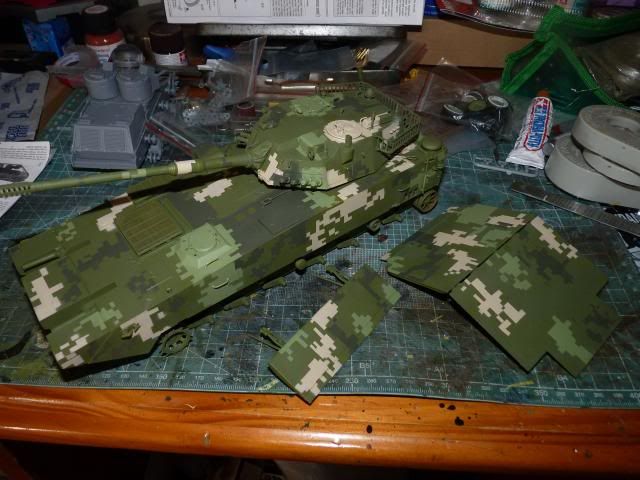
After taking off all the masking tape , this is what I get -
I painted the wheels like so -
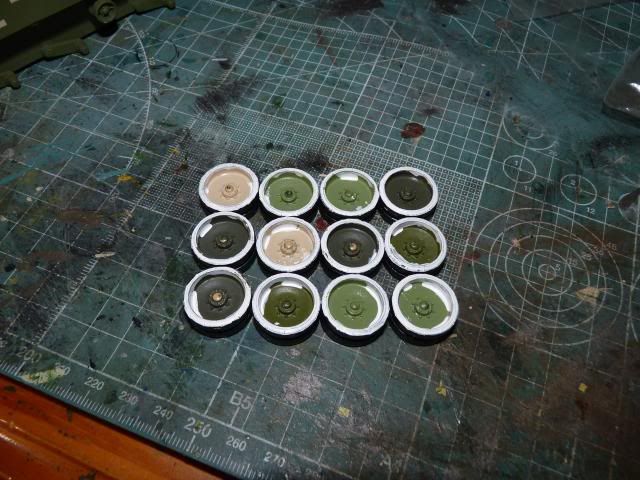
Don't worry about the messy white colour on the hubs. They will be closed off with these little things -
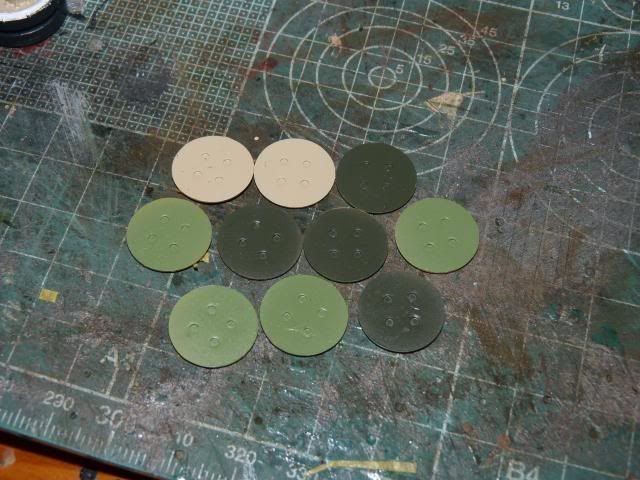
And Voila -

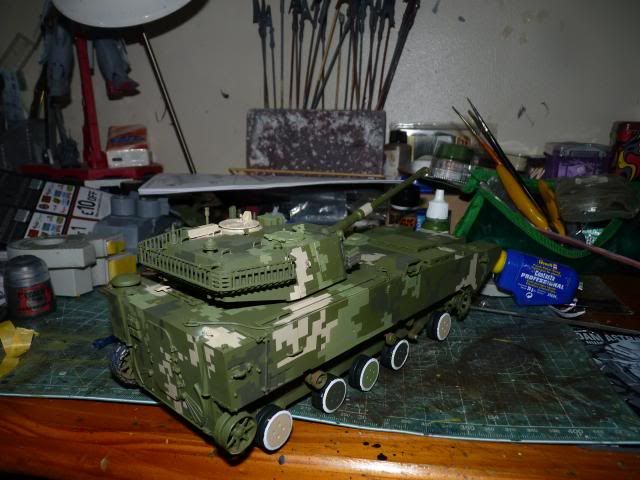
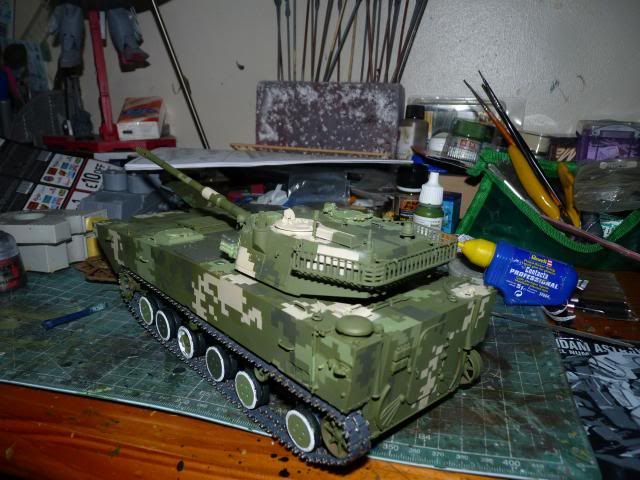
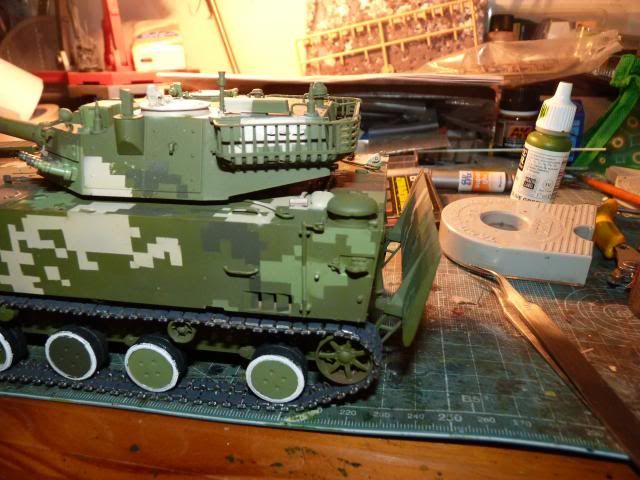
Here is the all around views I took with the wheels attached and one of the track assembled -Front -left three-quarter view

Front - right three-quarter view

Back- right three quarter view -
Back - peft three quarter view -
Lower front hull -

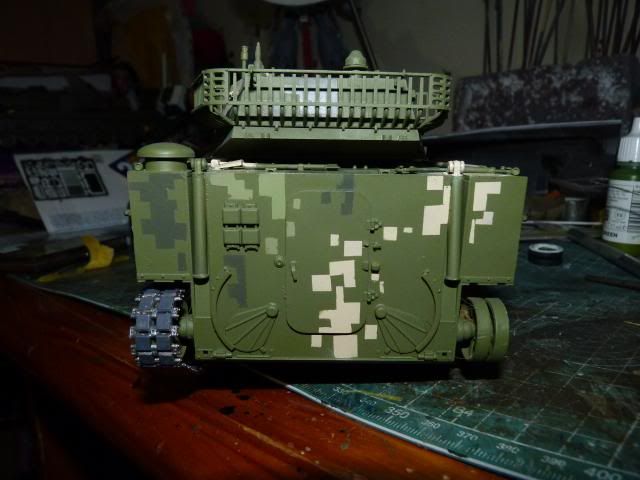
The rear hull -
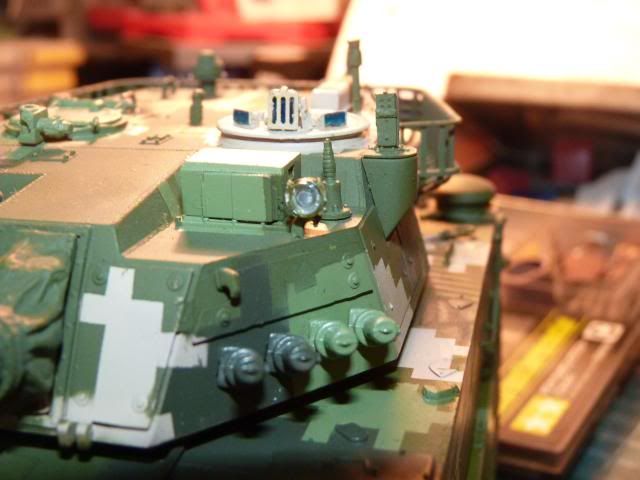
By now, you must be curious what happened to the complicated flaps I was working on. I still have them rest assure, I just wanted to apply them last without hindrance -Here is the back flap glued on. The back flap went on without any problems and is still workable.
Now this is when all hell broke loose. The time I spent trying to be so carful to make the front flap workable was for naught. For reason unknown,the flap is not folding up on top of the hull properly. There was a substantial gap and when when I tried to exert some force trying to fold it down properly, one of the support braces for the hydraulic rod broke off. Curses flew around in the air and had to spend an entire evening trying to fix it. I was already running on empty that day so I took a good night sleep and proceeded further the next morning. The same thing happen. Another morning spent fixing it. By afternoon, when it broke again for the third time ( and many other mishaps as well ), I just lost it. So much so that I was having difficulty breathing and I was seeing red and wanted to just smash the model. So trying to save myself and the model I spent so long on, I just glued everything on.
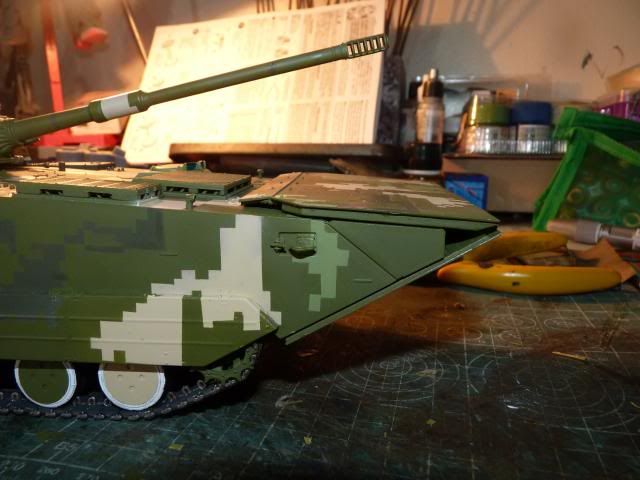
Without gluing, the top flap was way up in the air. At least, like this, I can keep going on without being angry. Having glued that on and satisfied with that and finally calmed down, I decided to cool down with some small detail paintings. I painted the driver scopes -

And the Commander's sight -
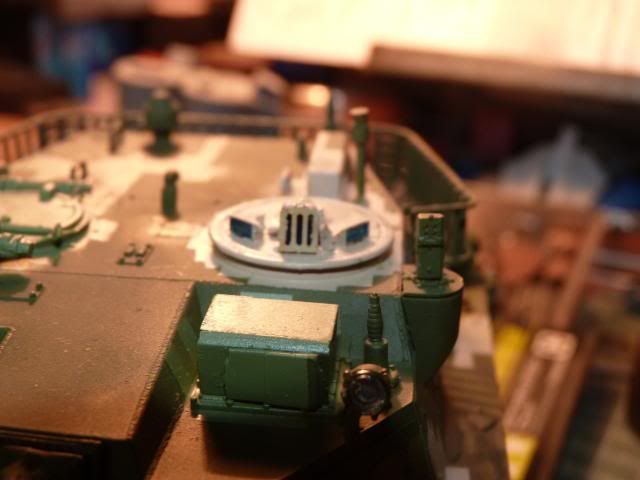
And painted the inner cup of the lamp with silver and traced the rim of the glass with green
- 
Another lamp and what appears to be a gunner scope -

After that, I spent a quick evening and night finishing the camo pattern on the side skirts and finally put them on -
Right side -

Left Side -
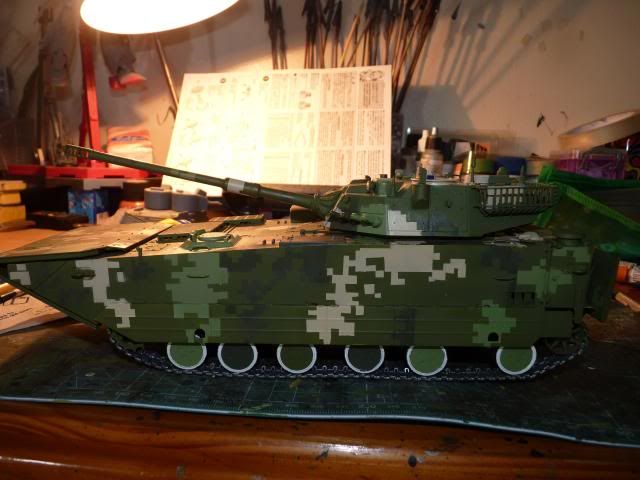
Well, that's that. It's almost finished. I'm hanging in there... The worst is over.
Coming up would be filters and weathering......
0 comments:
Post a Comment