
Hey guys.....
The leopard2 is about 90% finish and I kinda run out of steam on that so that cat is shelved for a week or two until I can decide on which weathering effects I will go through with ...
Hence, I have decided to work on my third dragon and second open-topped vehicle, beautiful vehicle known as the Nashorn.
This is the kit -
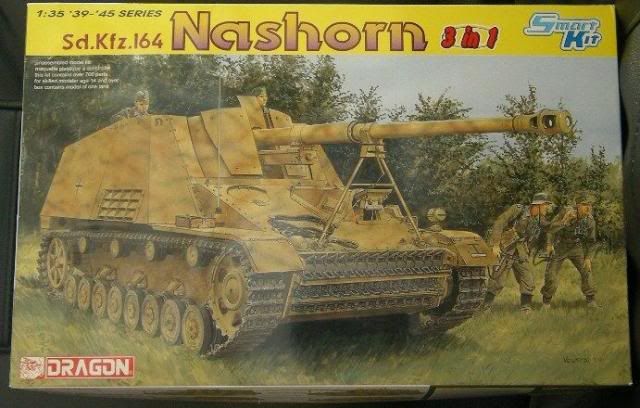
I would love to show the sprues but there are just so many in this case that it will become so long. But, I can tell you that this kit has - 1,103 parts (798 in grey styrene, 240 “Magic Track” links, 35 etched brass, 24 clear styrene, 2 springs, 2 coil springs, 1 length of wire, 1 turned aluminium gun barrel)
That really is a LOT of sprues. Most of them are not even for this kit. Usual dragon .. you know.. anyway
I started on the shock absorbers -

and the bogies -

Which was relatively easy, compared with my Dicker Max.
Followed that up with the first part of the front glacis plate; some kind of wire hub for the lights -

And then, there's the second part which is the visors and the hatch. The visors can be made workable but I looked at the instructions and having no intention of showing any interior nor to get frustrated over putting together some complicated stuffs , I just skipped all the steps and just closed the driver visors shut.

now if you are also building this kit - be aware of the following -

The four little hinges that I circled on the manual is not labelled and I had to spend a good deal of time trying to find them. They are actually on the F sprues. So if you are building this, be on the look out for this.
After that, I put on the rear plate on the hull tub -

and I glued on the glacis. A bit of patient and filling is required -

After that, I went back to the back plate again and put on the bibs and bobs as instructed. Naturally, I left the muffler off for now -

After that, I decided to put on the exhaust pipes that leads to the muffler. The kit is a 3-in-1 comprising of initial, initial-modified and early. I went for the initial-modified and put on the pipes on both side like so -

As you can I have also put on the wheels and idler.
I have also attached the little box that is associated with the initial-modified version which also have the mud-flap on it. Too bad I don't have any brass sheet lying around. I couldn't damage it as it was plastic. ''sob ''
You can also see the two ends of the exhaust pipes which will in turn go into the muffler later on -

After that, I finished up the front fenders. Much to my surprise, that was all there is on the front fenders-

Alright folks, I will leave this here for now.
I will keep you updated.
Until the next one.
0 comments:
Post a Comment