
Right.. update is due on this baby. I do apologize but I have been busy.
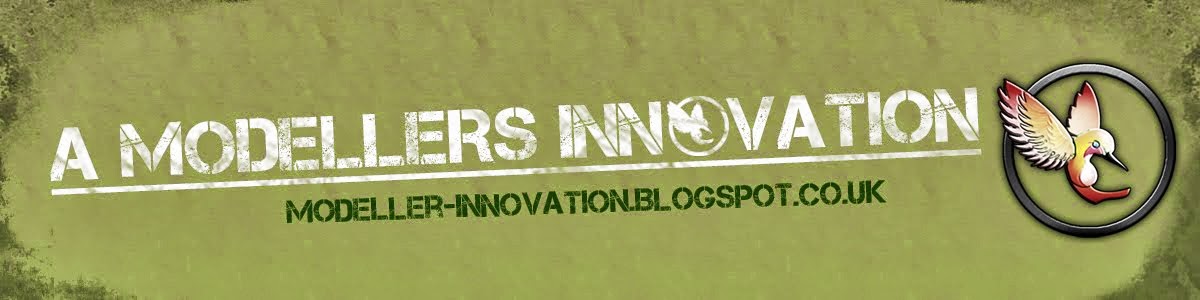
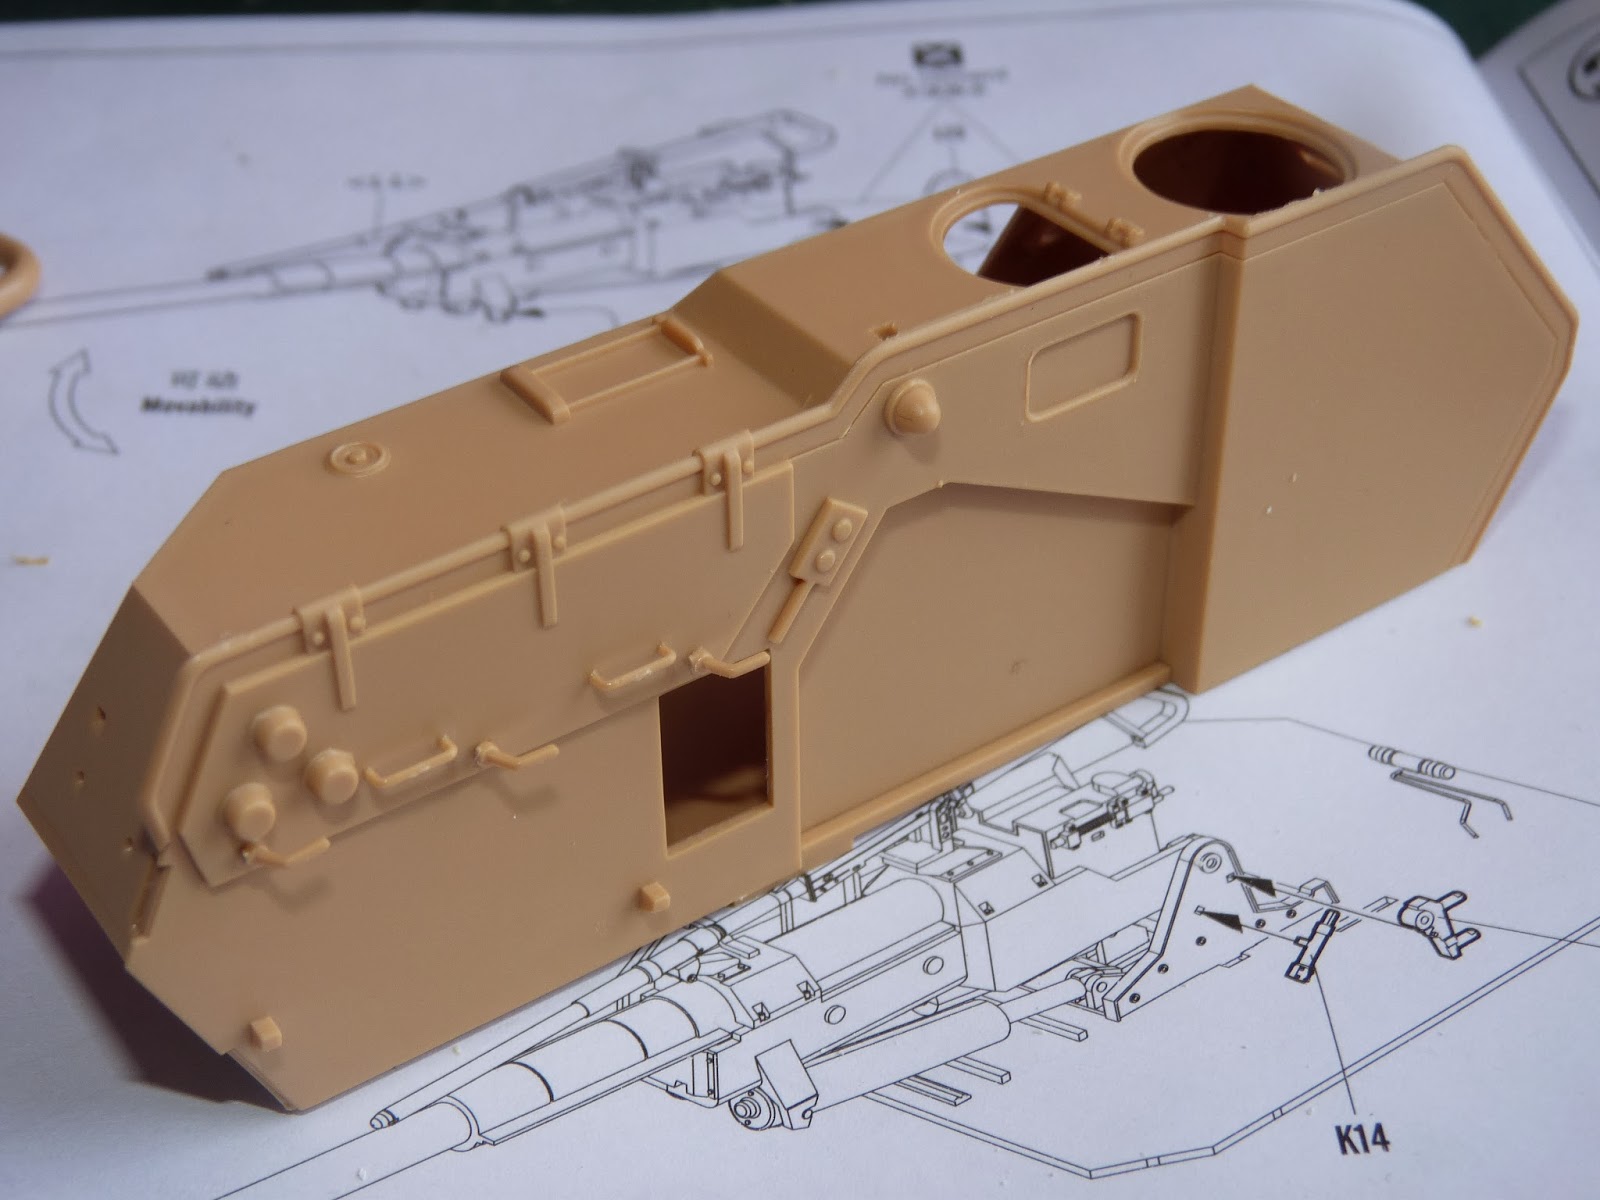
Right, following up what I did, I had to put up this little back wall of the cab. I took the photo just next to the instruction just to let you guys know what I'm talking about LOL.

This back wall goes on like so -
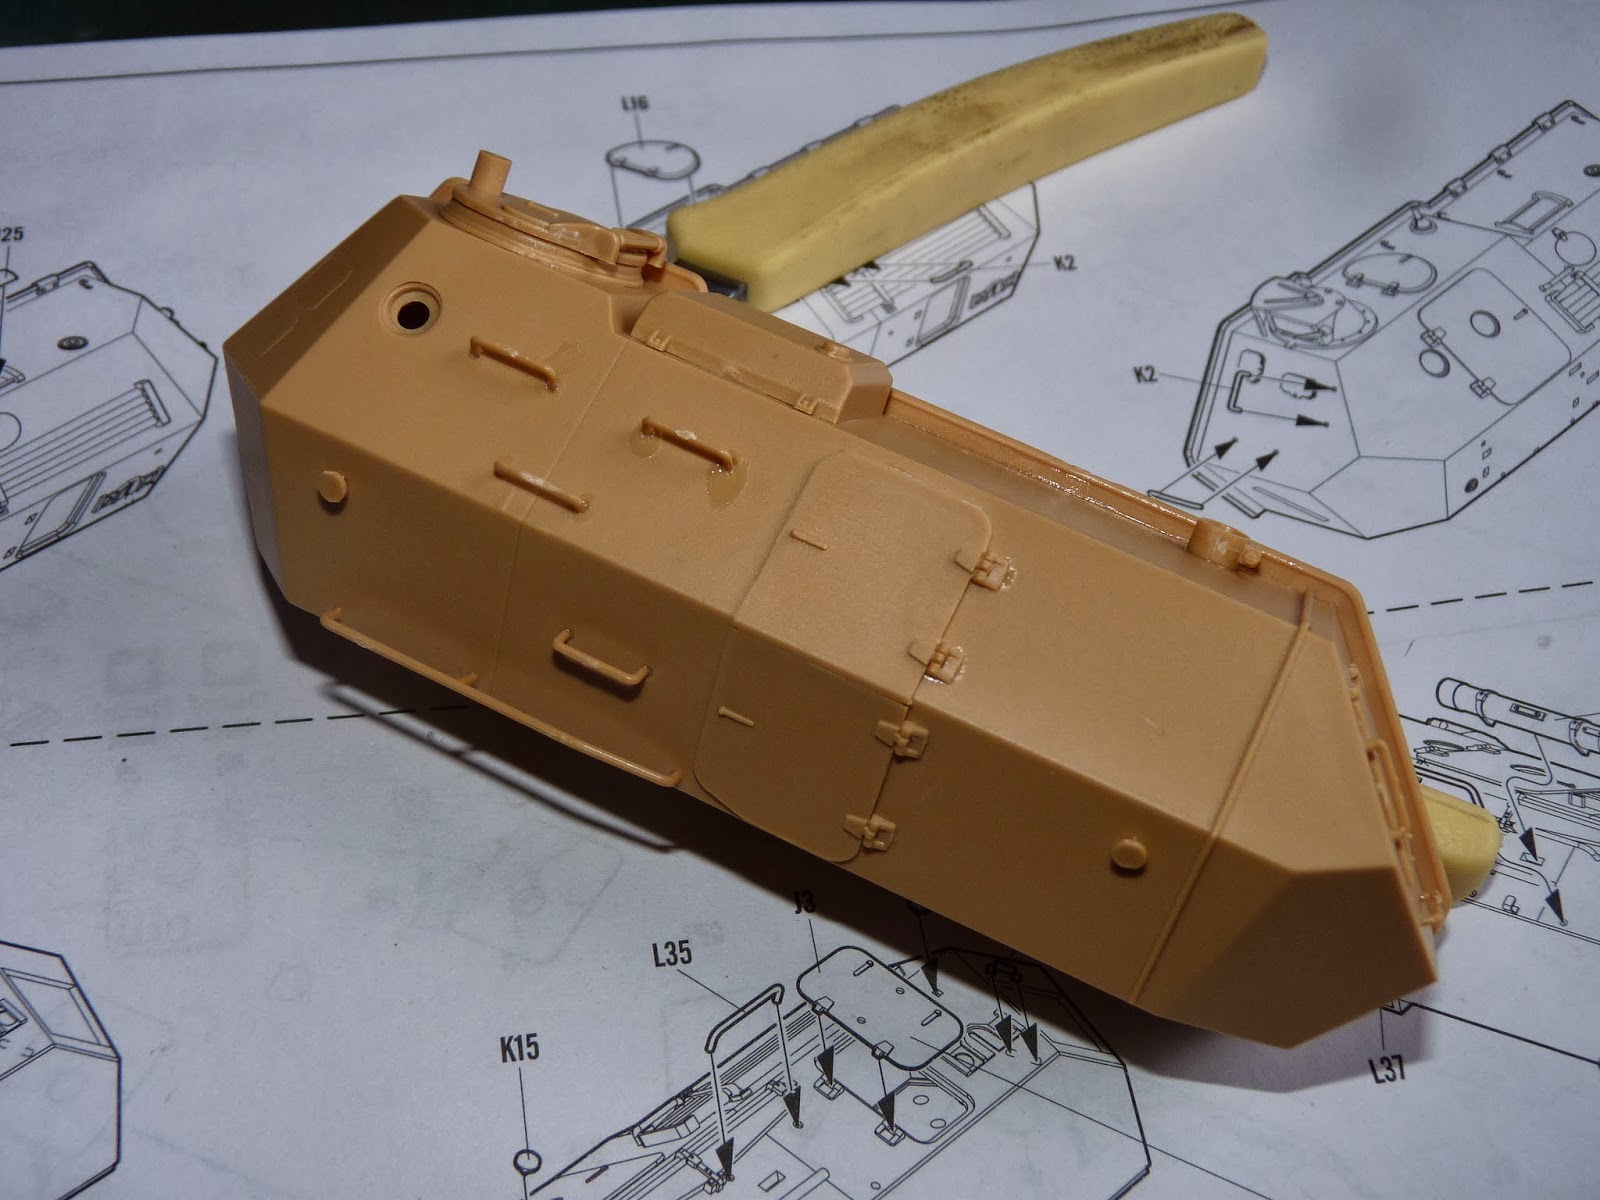
Following that, I decided to put on everything I need to put on the exterior of the upper half of the cab -

If you are building this or plan to build this, BE VERY CAREFUL with these particular steps as there is a crap load of small stuffs to put on. There are also very numerous amount of grab handles which you have to cut and clean with great care and the head light guards are equally hard to cut as well.
I still haven't put on the wind shield nor the wind shields cover.
So I put them on like so -

The instruction calls for the wiper to be put on just after the wind shields are installed but I decided to left them off until I have painted the front.
After that, I deviated from the instruction and moved on to the build the turret (because I just can't resist it LOL )
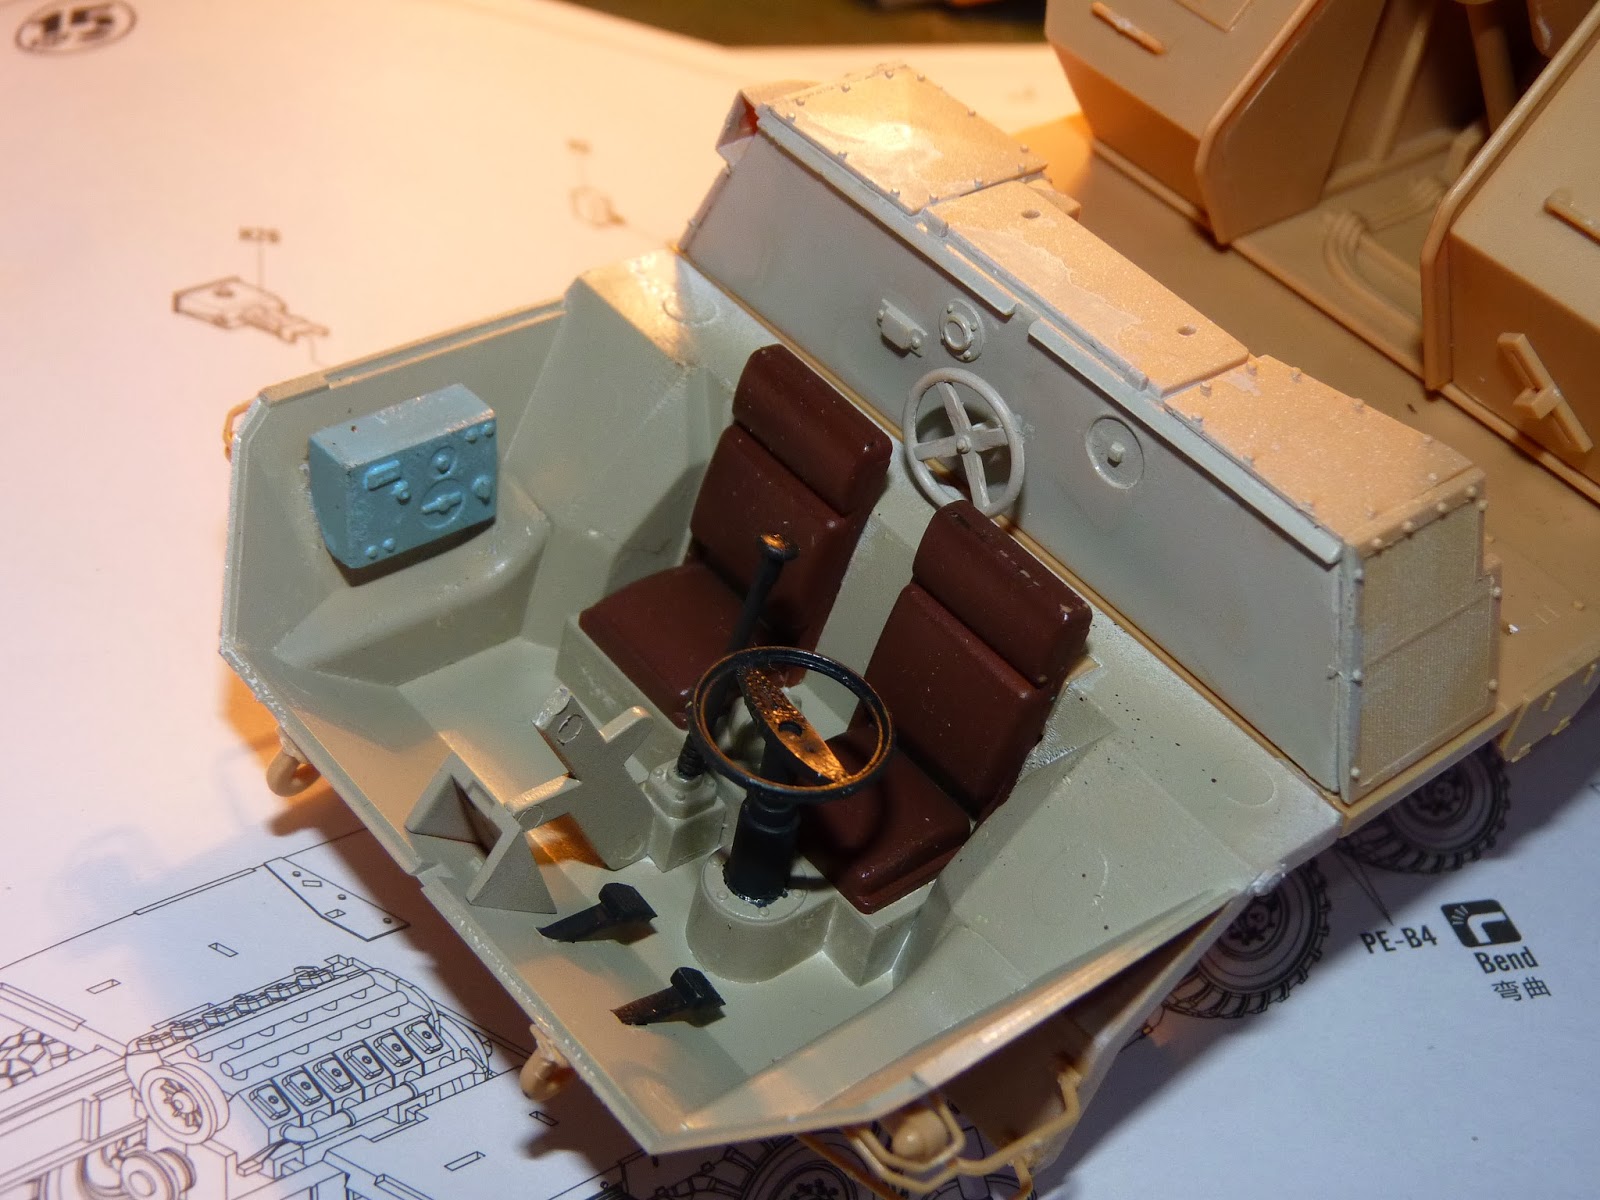
I laid out the parts that make up the gun for you guys -
which build up to to a nice gun ( the barrel is not long enough for my taste )

These are the main hydraulics responsible for the gun's elevation -

The two longer ones are actual working hydraulics which is made up of these parts -

BE VERY CAREFUL when gluing the two halves as you can glue the piston(the rod) by accident. The springs are pretty strong as far as I have noticed.
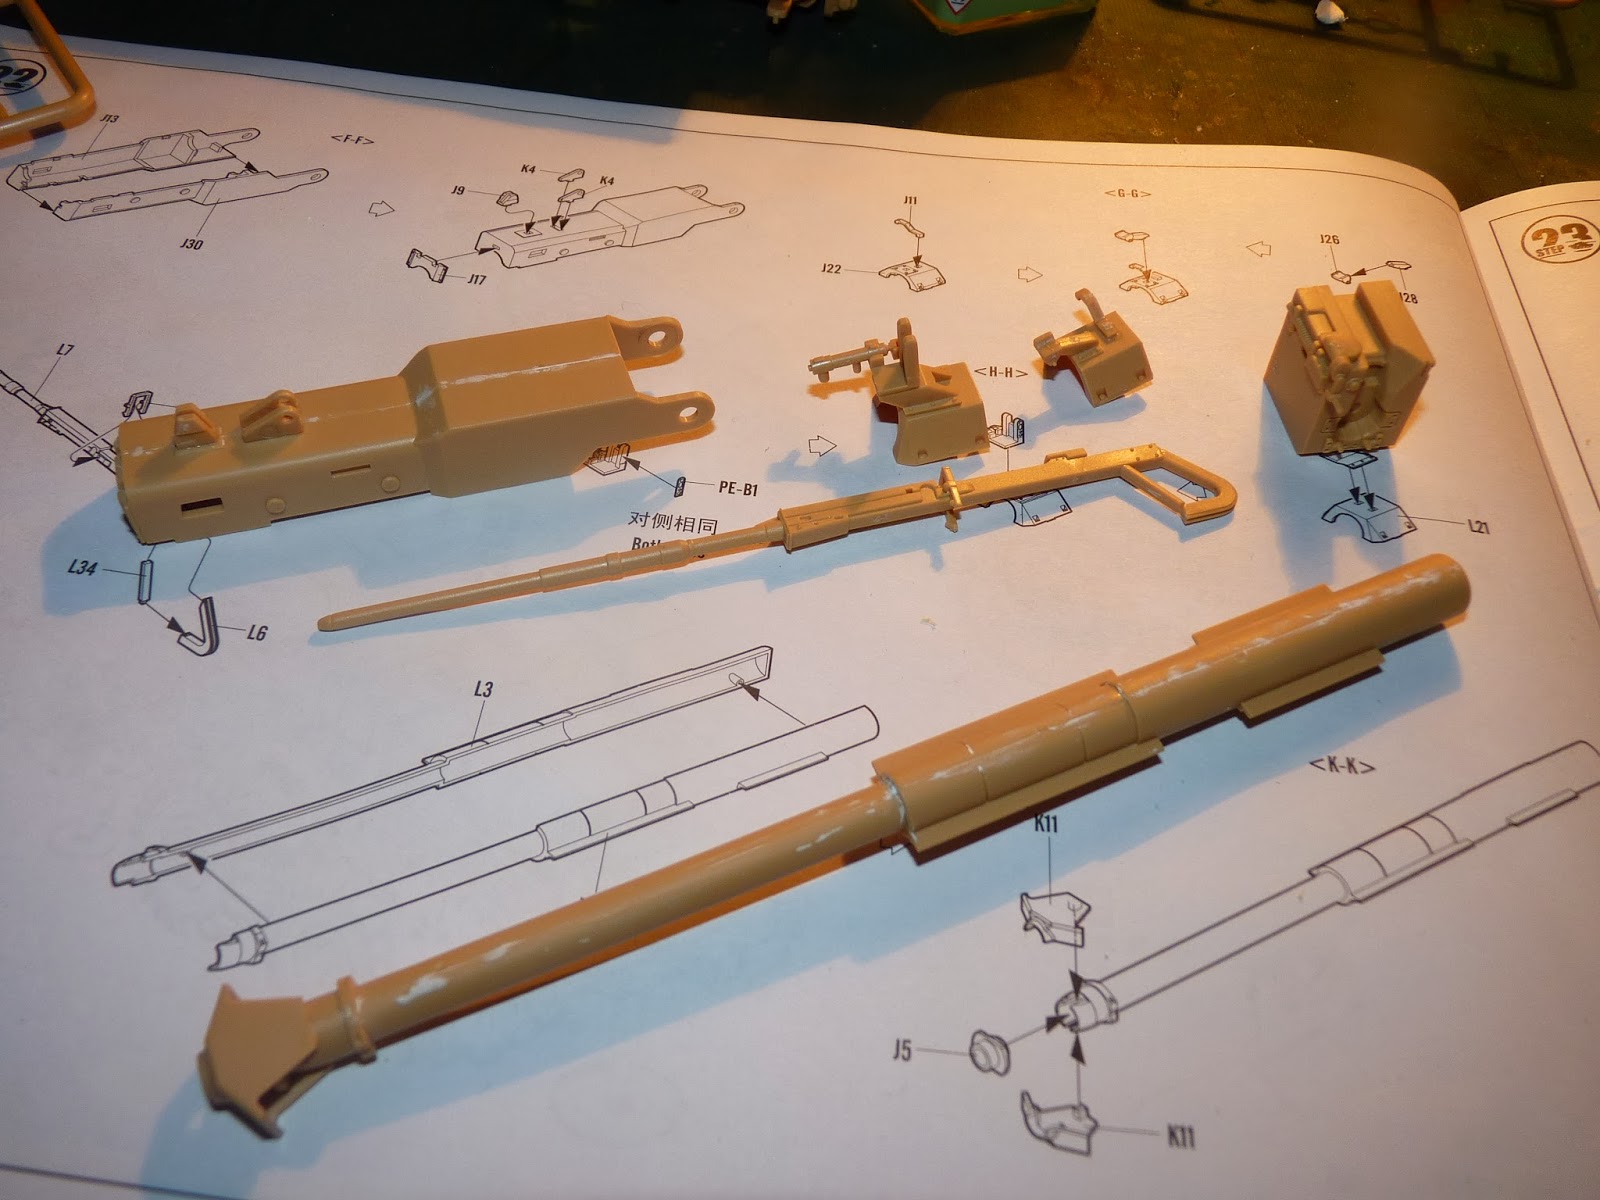
This is the maximum elevation it can attain -
This is the left half of the turret -
Exterior

Inner -
and the right half -
exterior -
Inner-

At this point, I have put on all the grab handles, almost all the doors and tools. I still have to put on the hatch and the many little P.E hooks.
The turret dry fitted -

The turret is only about 70% finished at this point. ( yeah, I know, there's no cab in this photo)
Well, that's about it for this update
0 comments:
Post a Comment