

Last time, I left off just before the engine so let's pick up from there.
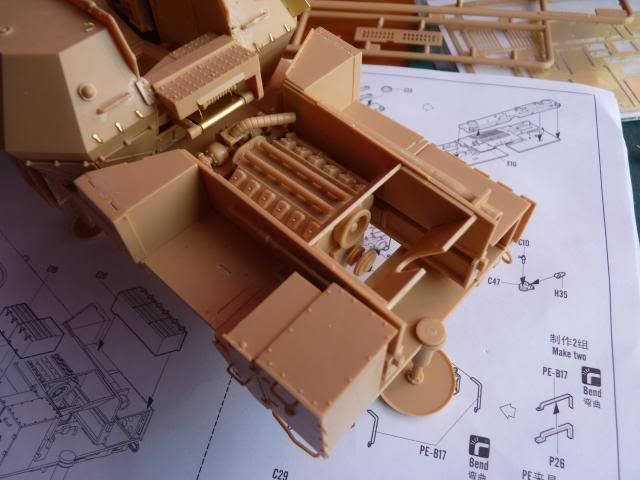
The engine is not that complicated but it is a little bit tedious and comprises of quite a bit of steps. No problem what so ever is met.

I also put up the walls of the engine housing by this point.
Next, I put up the storage boxes and what I believed to be boxes carrying the extra charges for the gun.
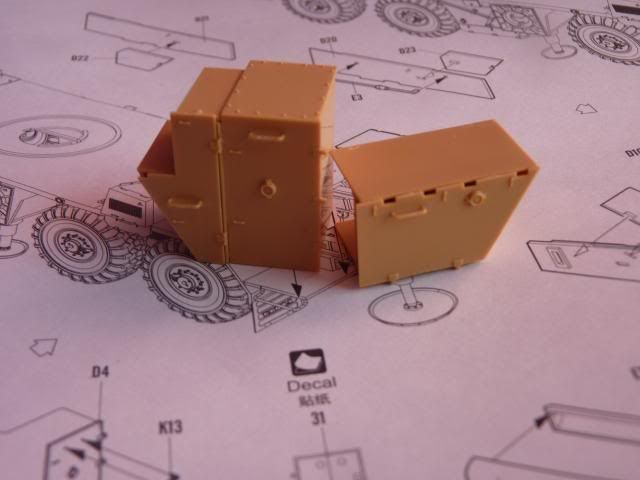
They go on each side of the engine an form part of the engine housing and the rear structure.
You can see I have also put on the braces for firing position. I will show them as extended to depict the vehicle in a firing position.
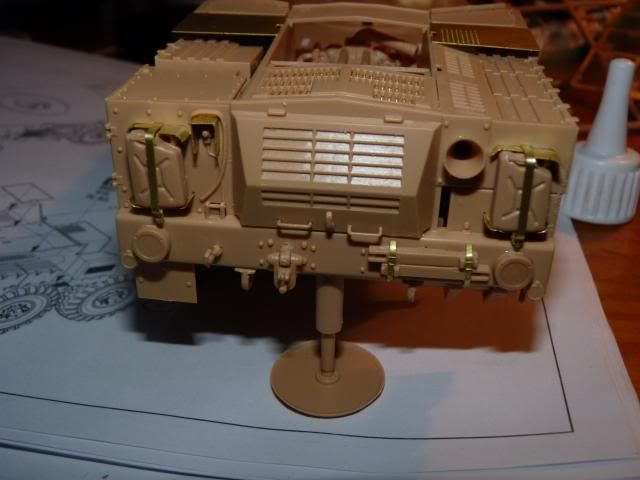
Following that, I started building the back/outside of the engine housing. Firstly, I glued on the photo etch Fuel cans folders -
I then put on all the necessary parts on it and finally glue it on the chassis -
You can see from this photo that I also put on the upper roof of the engine housing. Here's a photo from above to show them -

I have left the engine hatches off until I have paint the engine and the interior wall.
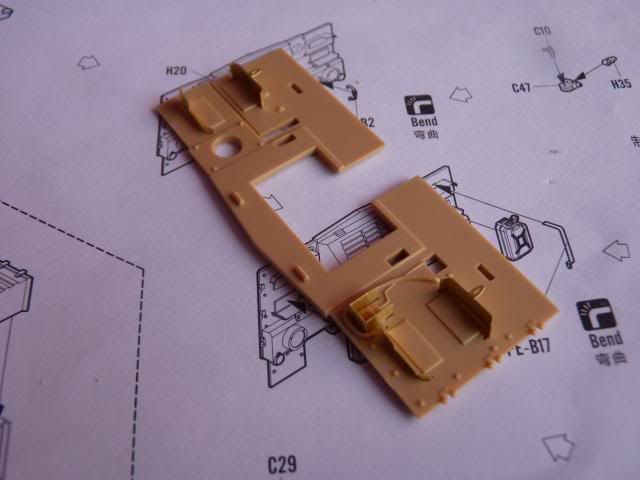
Next, I decided to finish everything off by building the brace structure in the middle of the chassis -
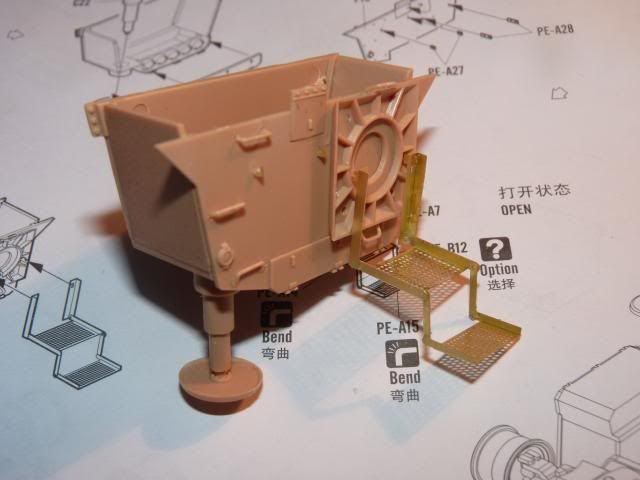
I decide to model the steps extended just to give it some thing to look at.
This guy will go on the right side of the chassis -

and this is the left side -
With all that, I primed this girl up, all ready for the shadings
-

Now, I have a problem -As you can see, there's a grating of some sort here -
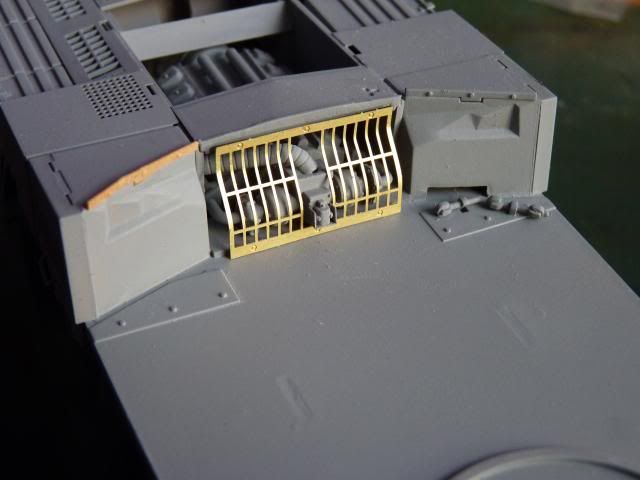
and this part according to this photo -
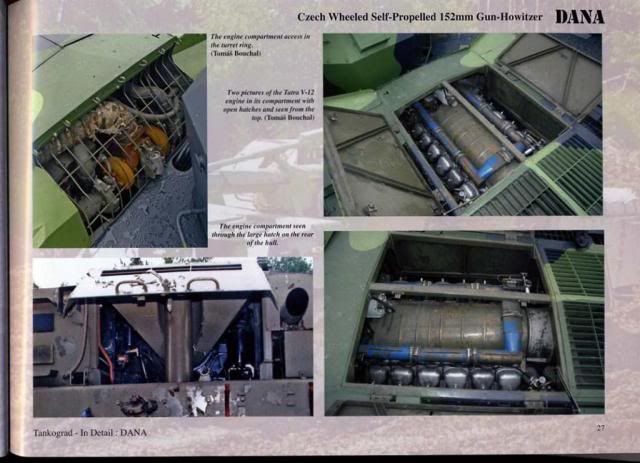
The bars are very thin and it is supposed to covered the whole hole and I have no idea how to fix that. May be I will cut a suitable strip of brass from a photo etch sprue and bend it to form and glue it. I don't know. I will see.
Well, that's it for now... next will be the painting ... Thanks for looking
0 comments:
Post a Comment