

Finally.. some update on this baby ... I've ignored this girl for far too long ...
If everybody can recall- I cut off the last update after I primed everything so let's pick up from that. After priming everything, I painted the engine and the interior of the engine bay as it would be VERY visible from the engine grilles that I have shown before.
This was my first time painting an engine and I had absolutely no idea what I was doing but I think I managed to pull through. Have a look -

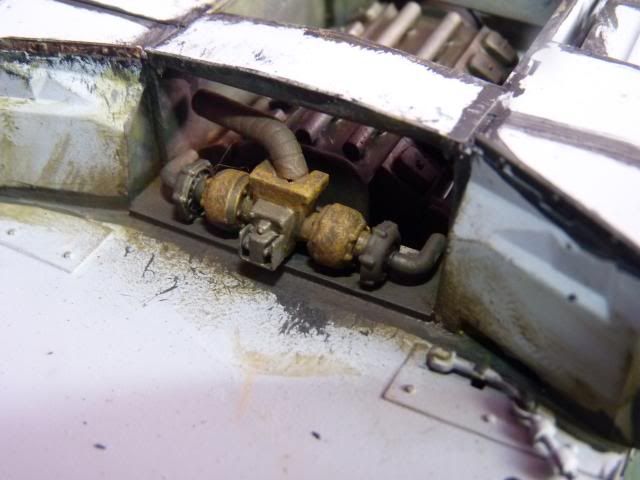
The ugly black lines you see are my shadings lines that I put on with hand brush as I was too lazy to put them on with airbrush ..
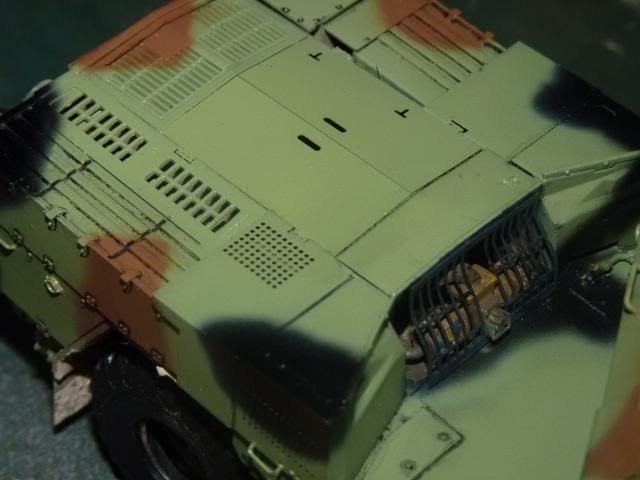
After that, I put on the remaining pieces of the PE which were the big engine cover hatches and primed it again and painted the base colours; Mr. Hobby Aqueous H303

This was my second time painting this but I thinned it down with methylated spirit and it just came out so smooth. I never had that much fun painting with any other paint.. well, except maybe with Vallejo Air.
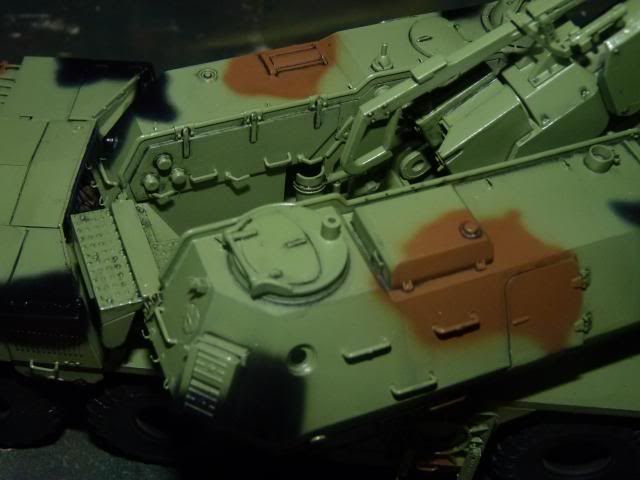
The 2nd colour and first camo patches goes on; again I used Mr. Hobby Aqueous. The colour is H37 wood brown.
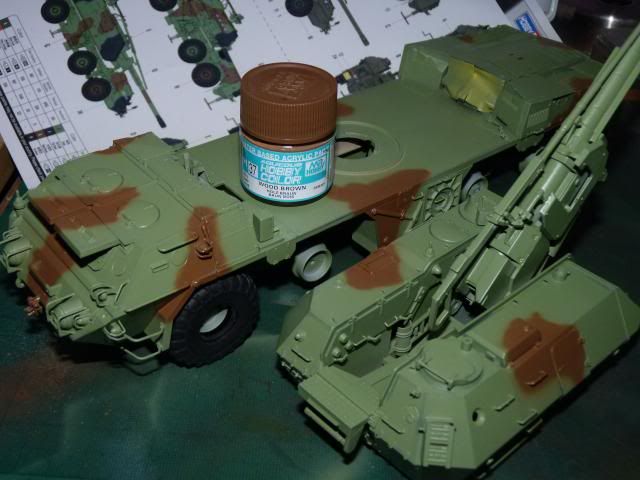
The third colour and 2nd camo patches went on. As I already had tamiya black, I didn't waste any further money on Mr.Hobby black and just used tamiya black. Lord, I hated tamiya black. ( Black and white are really hard to paint for me )
After that, I left if alone for a few days and while trying to put weathering on my T-55 Engima, I decided to dirtied up the chassis and running gear like so -

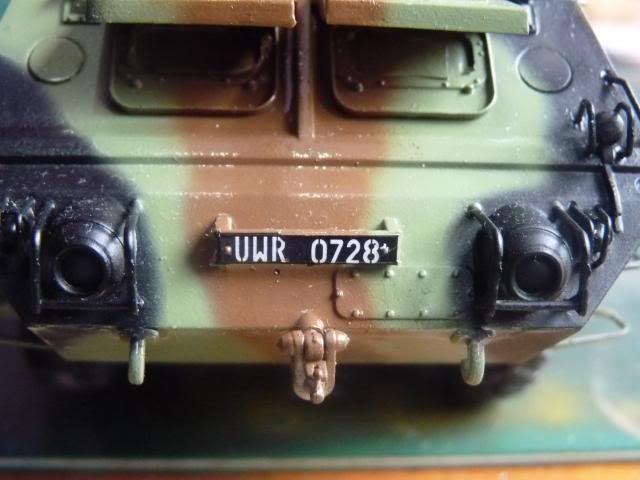
And after that comes decals-
The front cab -

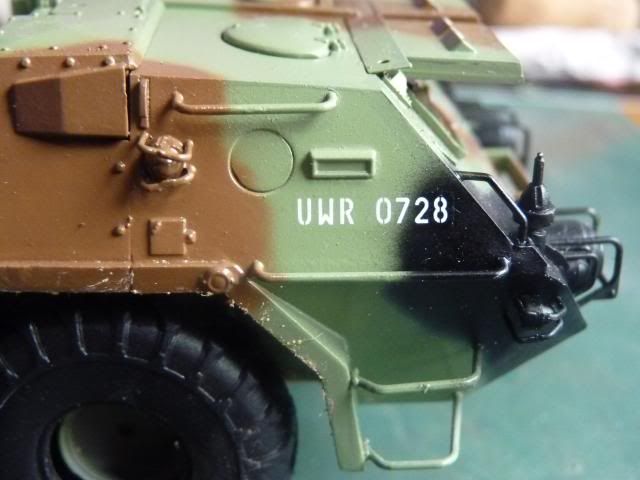
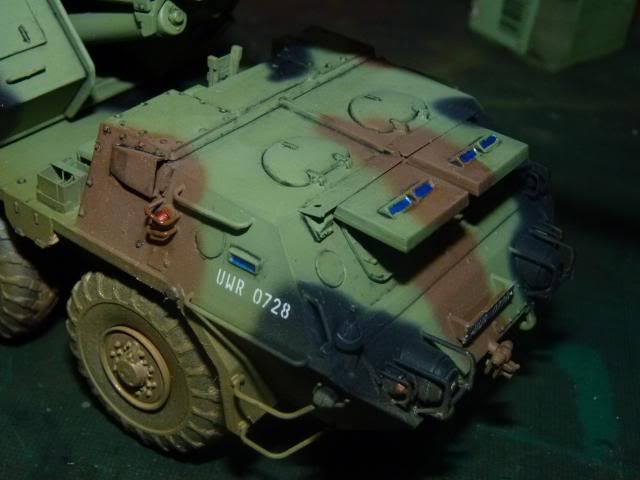
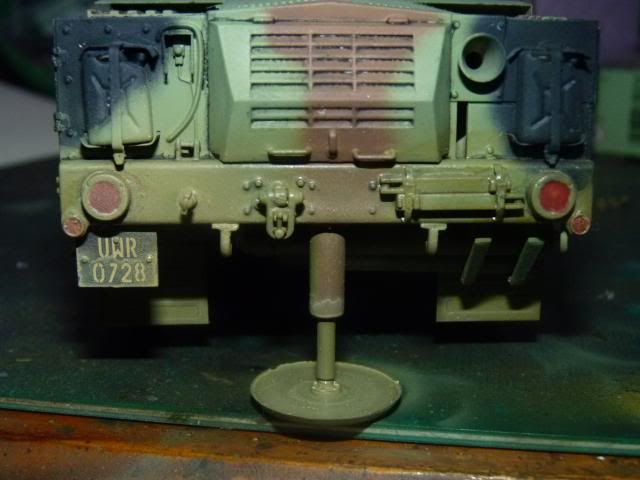
and the back -
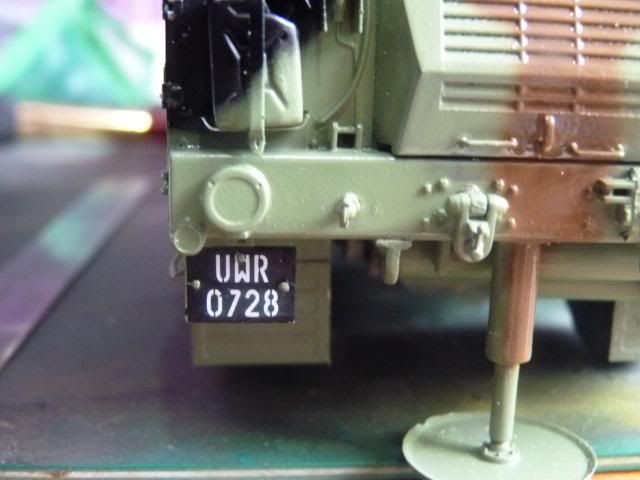
I'm building a Polish army version and I just realized, I picked up a scheme that has only those four decals on. While relieved of the fact that I don't have to put on too much decals, I was kind disappointed that there was only four.
Moving on, I applied pin wash to the whole thing. I used AK nato vehicle wash ( the black one ) -

After that, I put on a matt varnish and spray some thinned down dirt/earth/dust colour enamels on to prepare for the upcoming weathering stages ...
Next, I followed up that step with painting of the vision ports and lights -
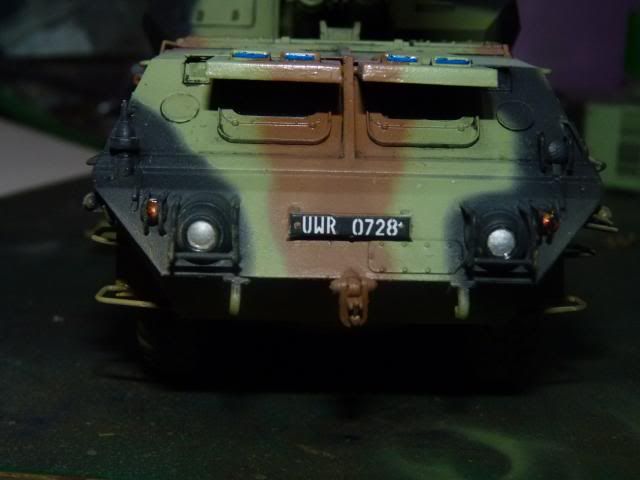
I have no idea how to make the front light looks realistic.. this looks stupid IMO. I should put on some gloss varnish with brush to build this feel of a glass head light.
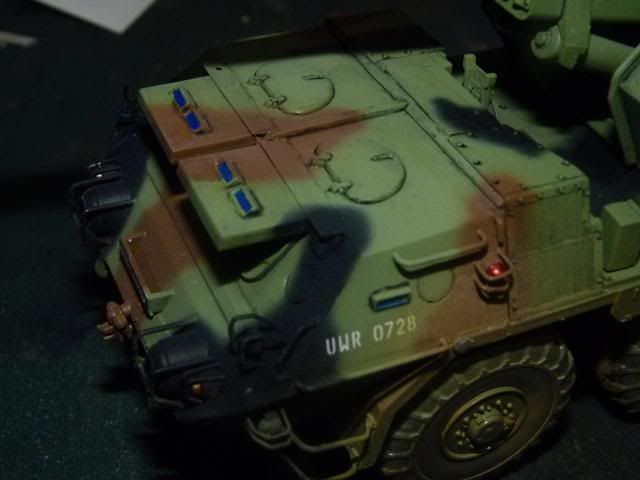
Tail lights -
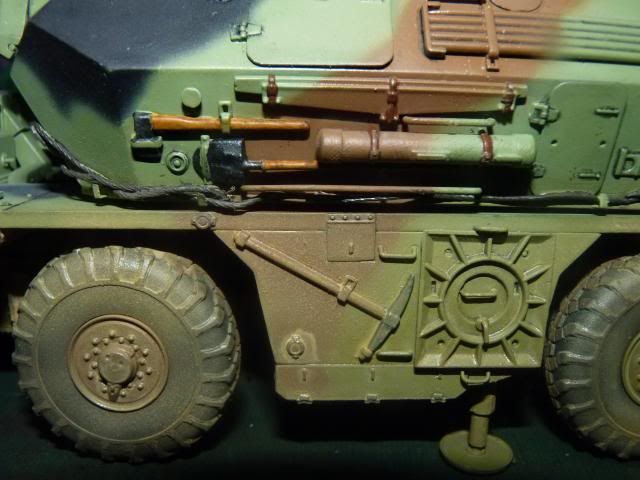
And I also painted the only 3 tools on-board, the tow cable and the straps on the little round thingy and the saw.
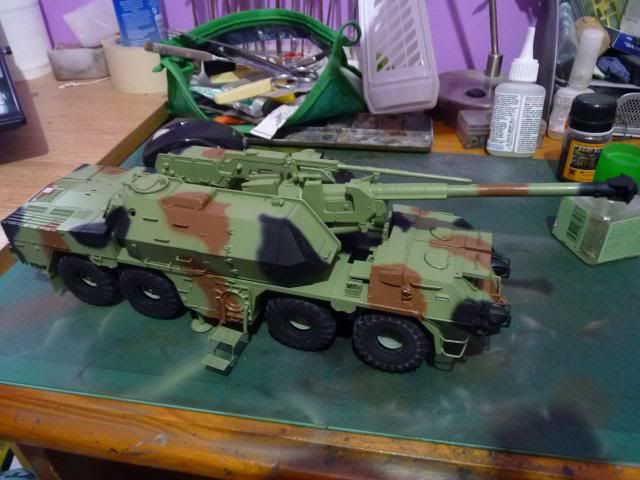
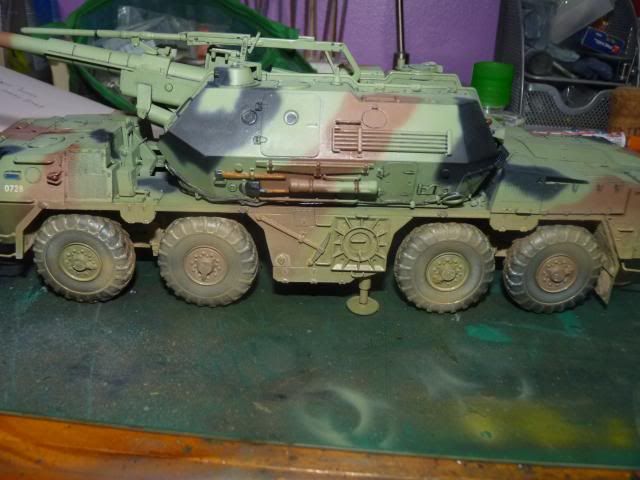
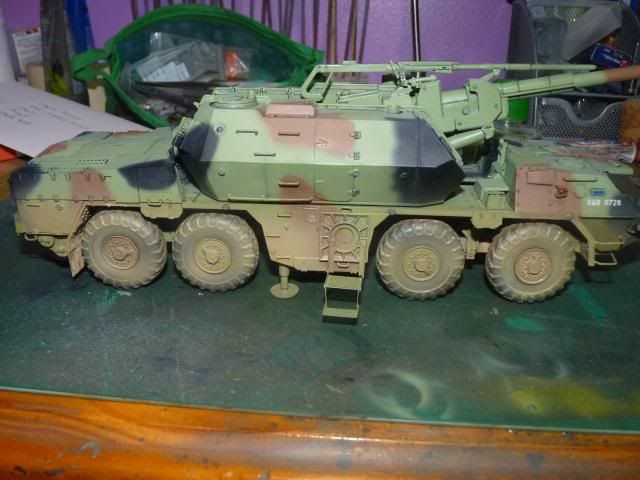
and this is how this baby looks now -
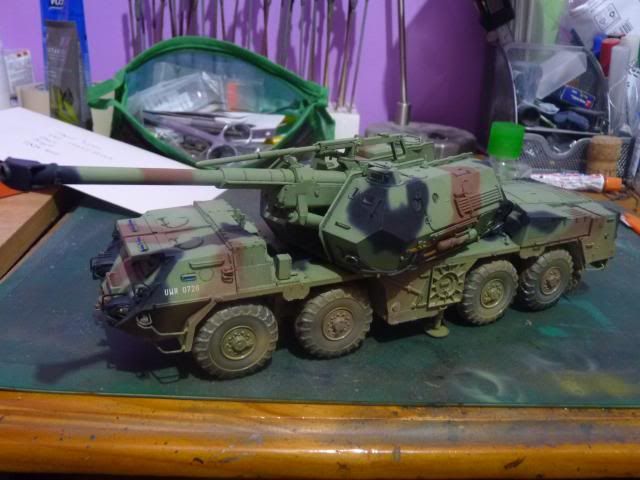
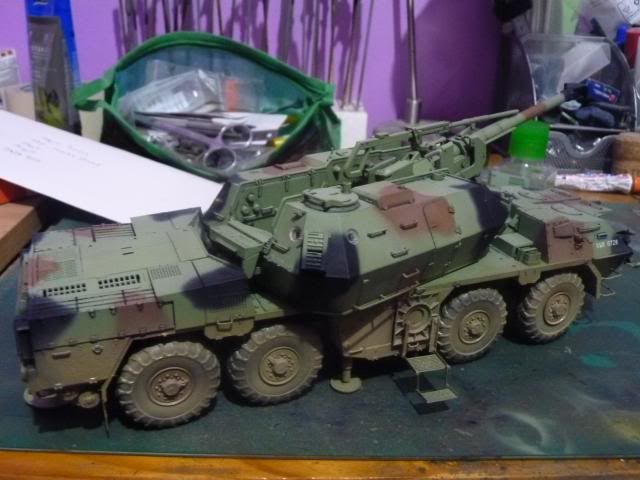
Whew... well, that was a big update... all I need now is to followed up on the weathering and I should be done. I will see if I make enough progress to make an update.. if not, then straight to the finished product.....
Until the next update....
If everybody can recall- I cut off the last update after I primed everything so let's pick up from that. After priming everything, I painted the engine and the interior of the engine bay as it would be VERY visible from the engine grilles that I have shown before.
This was my first time painting an engine and I had absolutely no idea what I was doing but I think I managed to pull through. Have a look -
The ugly black lines you see are my shadings lines that I put on with hand brush as I was too lazy to put them on with airbrush ..
After that, I put on the remaining pieces of the PE which were the big engine cover hatches and primed it again and painted the base colours; Mr. Hobby Aqueous H303
This was my second time painting this but I thinned it down with methylated spirit and it just came out so smooth. I never had that much fun painting with any other paint.. well, except maybe with Vallejo Air.
The 2nd colour and first camo patches goes on; again I used Mr. Hobby Aqueous. The colour is H37 wood brown.
The third colour and 2nd camo patches went on. As I already had tamiya black, I didn't waste any further money on Mr.Hobby black and just used tamiya black. Lord, I hated tamiya black. ( Black and white are really hard to paint for me )
After that, I left if alone for a few days and while trying to put weathering on my T-55 Engima, I decided to dirtied up the chassis and running gear like so -
And after that comes decals-
The front cab -
and the back -
I'm building a Polish army version and I just realized, I picked up a scheme that has only those four decals on. While relieved of the fact that I don't have to put on too much decals, I was kind disappointed that there was only four.
Moving on, I applied pin wash to the whole thing. I used AK nato vehicle wash ( the black one ) -
After that, I put on a matt varnish and spray some thinned down dirt/earth/dust colour enamels on to prepare for the upcoming weathering stages ...
Next, I followed up that step with painting of the vision ports and lights -
I have no idea how to make the front light looks realistic.. this looks stupid IMO. I should put on some gloss varnish with brush to build this feel of a glass head light.
Tail lights -
And I also painted the only 3 tools on-board, the tow cable and the straps on the little round thingy and the saw.
and this is how this baby looks now -
Whew... well, that was a big update... all I need now is to followed up on the weathering and I should be done. I will see if I make enough progress to make an update.. if not, then straight to the finished product.....
Until the next update....