

I followed up from what I left off by gluing on the curved edges of the hull-
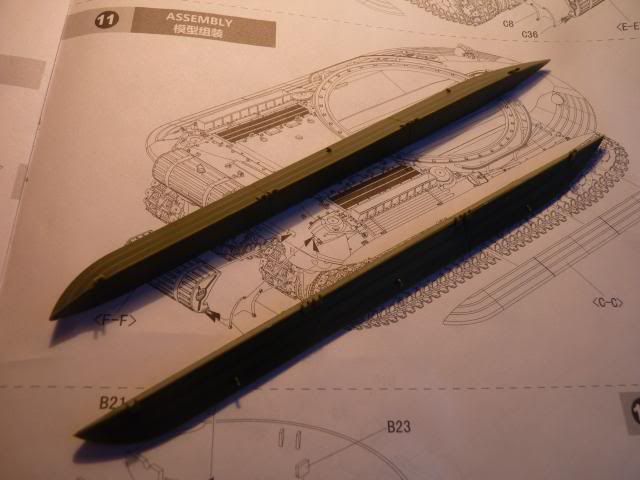
I found two mistakes in the the instruction manual as you can see from the photo -
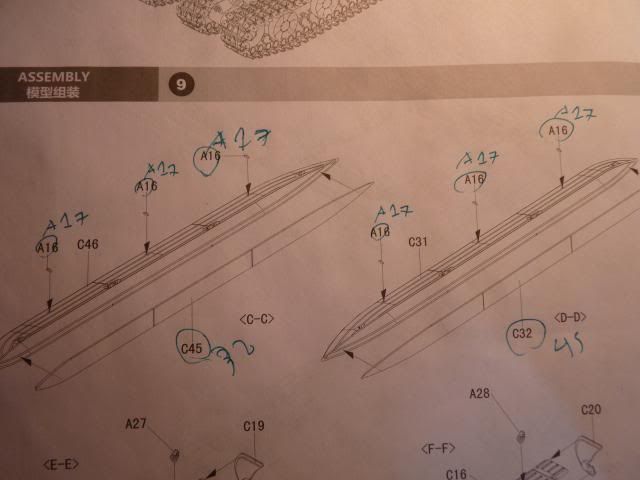
These two edges goes on the hull like so -
A quick look at reference photos from the Kubinka Museum shows that there IS a seam line there so I did not get rid of the seam but also make sure there wasn't a gap either.
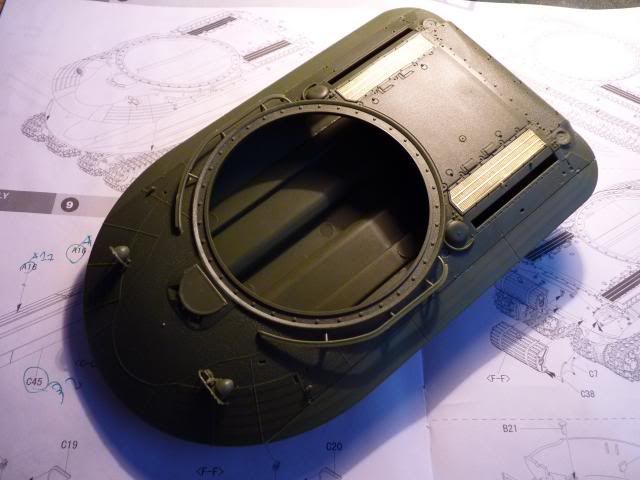
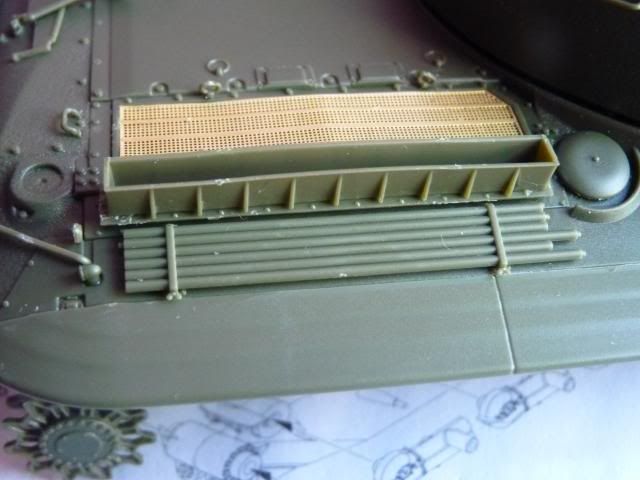
Next, I prepared to build the smaller set of grilles what extended walls around it -
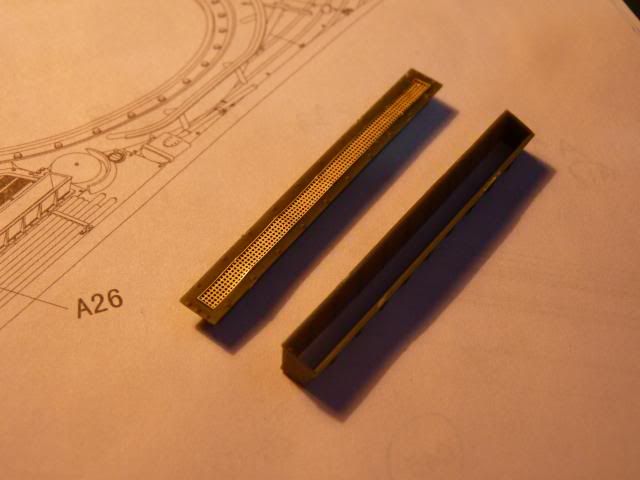
These goes on to the engine deck, just next to the bigger grilles -
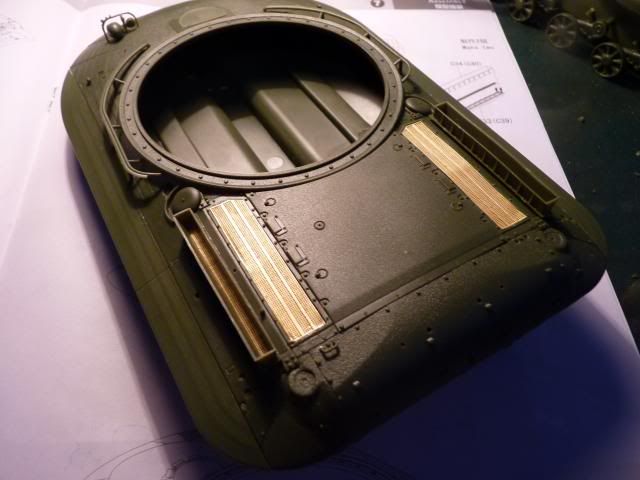
Here, the instructions were not clear enough so referring to references photos is a must.
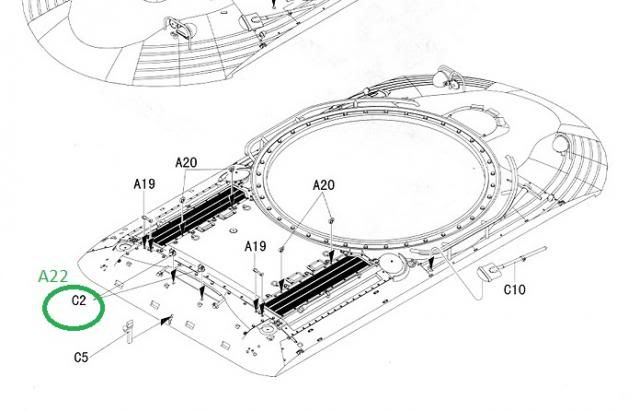
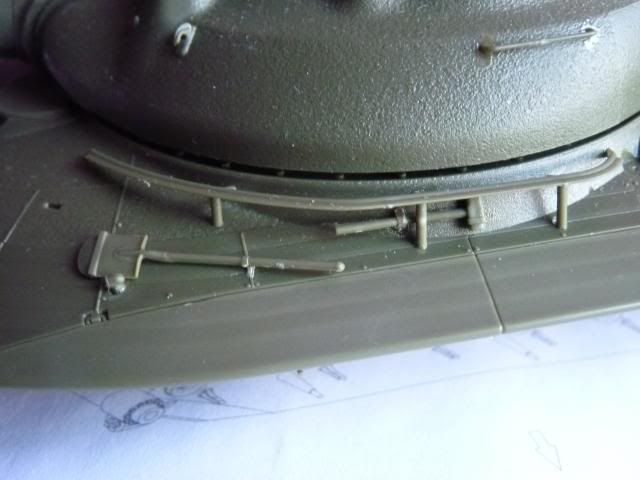
Next, I put on the small grab handles just behind the grilles, the bigger grab handles on the edge of the hull, some kind of wall or rack that goes in between the two external fuel tanks and the base hinges for the gun travel lock -

Here, another mistake in the instruction has been spotted. The hinges for the gun travel locks are labelled wrong -
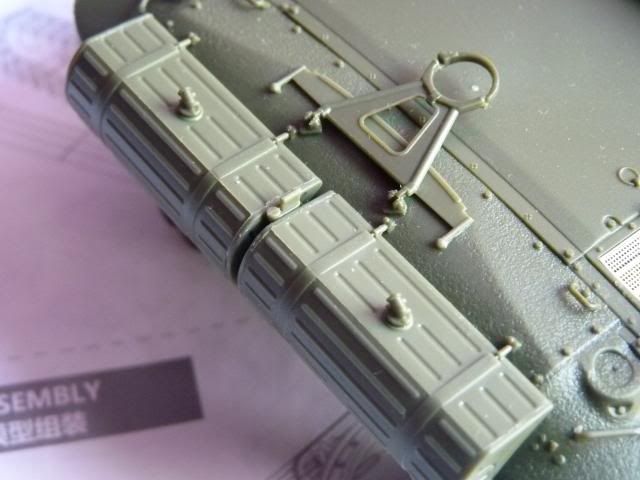
Next, I built the fuel tanks and glued them on the rear hull. The tanks themselves are very nice but gluing them can be a pain in the neck as it keeps falling down. Be sure to apply enough glue and hold them down for quite some time.

Next, I put on the caps or nozzle of some sorts on top of the tanks.. glued on the saw and the gun gravel lock over it.
Next, I had to put on some kind of pipelines that goes from the fuel tanks in to the hull. Here, another mislabeled part has been found -
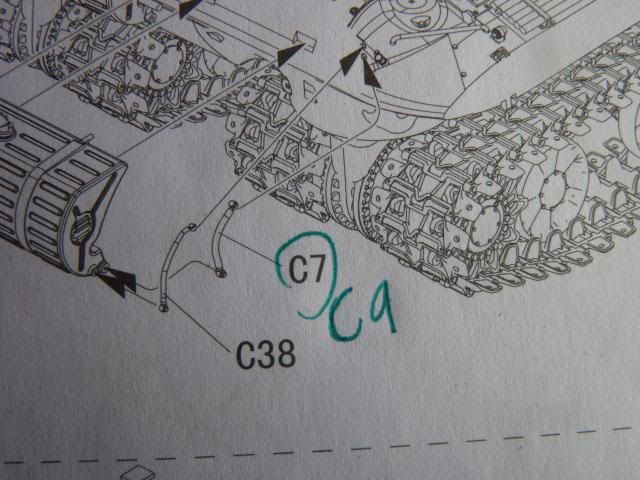
and another problem arise from this. As you can see from the photo, there are two pipes involved with each tank. The problem is Part C9 ( and C8 for the left tank) is too short and not curved enough to glue on. I tried to dry fit and see how the parts are actually glued on but I fail to come up with a satisfactory fit so I decided to throw them away altogether. Not only that, while C38 is curved enough, it is short to reach the attachment points and out of frustration, I just glued them on like so -
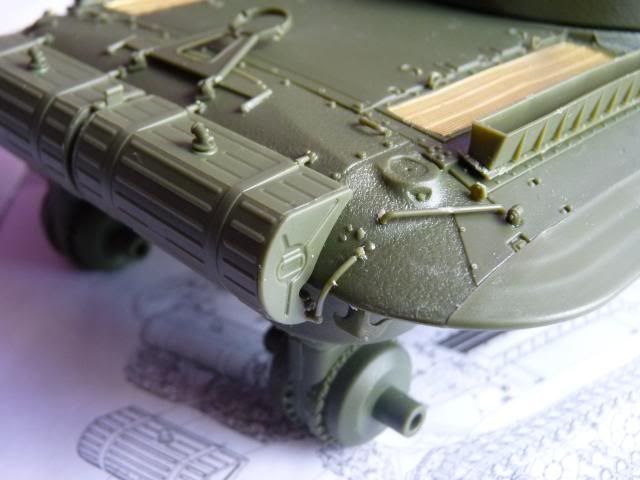
The lack of the smaller pipe is bugging me and I might put one in using wire or small plastic rod. I don't know. I will see. The mounding of these fuel pipes are abysmal.
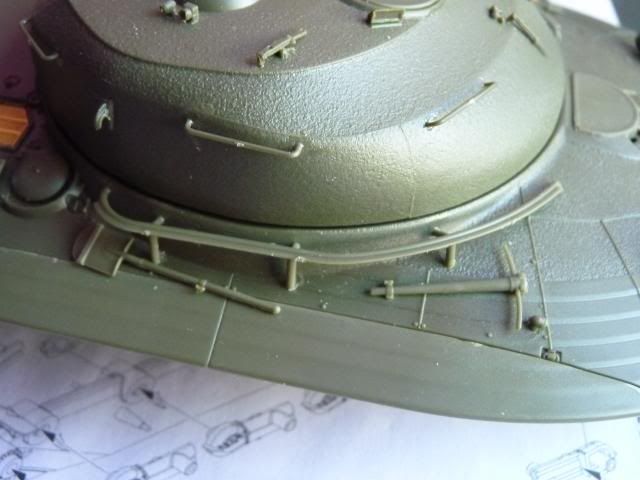
Following that, I decided to put on the tools all around the upper hull -
Here, we have the gun cleaning rods -
Pickaxe and Shovel ( or a spade ) on the right hull -
and Hammer and Shovel on the left -
Again, the moulding is abysmal and the plastic is quite soft in these things so clean up was a little bit harder then I had expected.
Well, that's it for this update. Stay tuned for more.
0 comments:
Post a Comment