
Hello All and all hello ...
Right ... so I got a new finished kit to show you dear readers. In all honesty, I am so stressed and will be until the 11th of September. I have a minimum of 18,000 words dissertations to write and I only done like 10,000 words on it, therefore; I AM FREAKING OUT. To calm down, I finished up this E-75 and took photos the other day and now, finally posting about it.
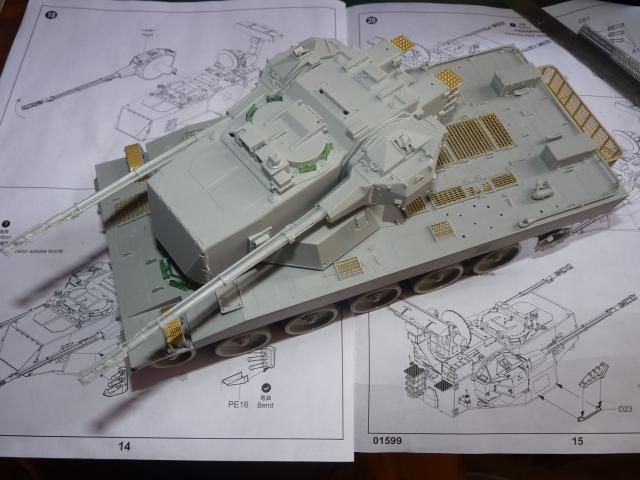
As u all know, there is only one E-75 kit available in 1/35 and it has been widely reviewed by better modellers so I don't think any special introduction or mini-review is necessary.
I wanted to go crazy with the paint scheme as this is a paper panzer but I cannot go over the words of she-who-must-be-obeyed ( only girlfriend in my case, no wife yet :P ). Girlfriend said she wants to see this in dark green and dark yellow. I tried negotiating for olive green as you all know olive green is far more correct but she didn't budge from dark green. I dare not cross her, therefore, dark green it is. Haha. I used Revell Aqua (Acrylic) Dark Green thinned with the fantastic all-around acrylic thinner from Ultimate Modelling Product. The dark yellow is a mix of Tamiya Dark yellow and other yellows and brown that I could find as I was running dangerously low with Dark Yellow.
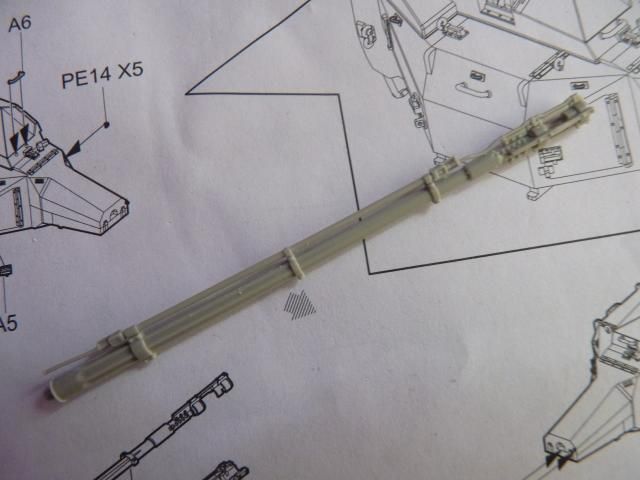
The addition of the add-on armour was greatly influenced by my Facebook friend by the name of Jason Lim. He does amazing customised vehicles and day in day out, I am inspired by him to also customised my vehicles. Take a moment and visit his blog here - LINK. The 12.8cm is influenced by the none other than the cursed game Worlds of Tank and Adam Wilder's E-75 with the 10.5cm.
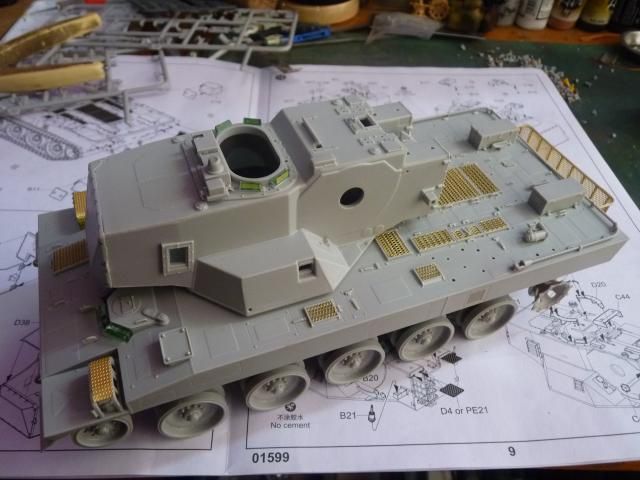
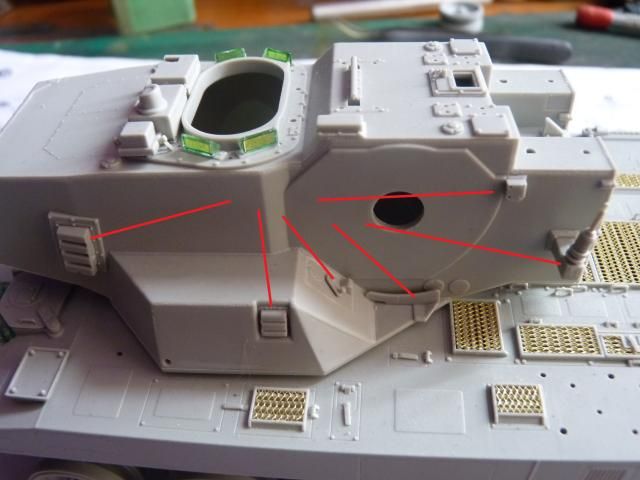
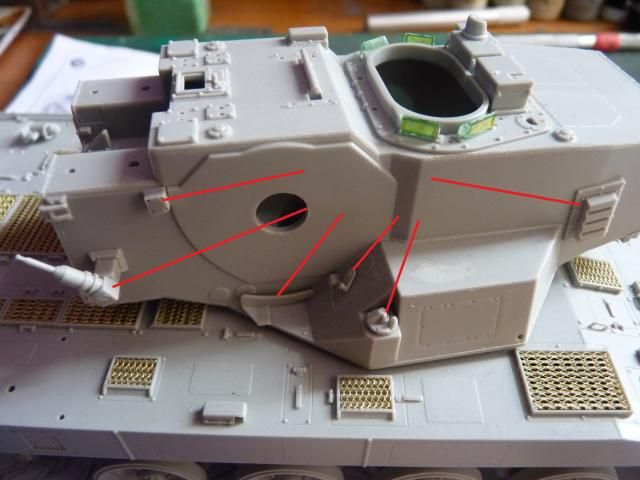
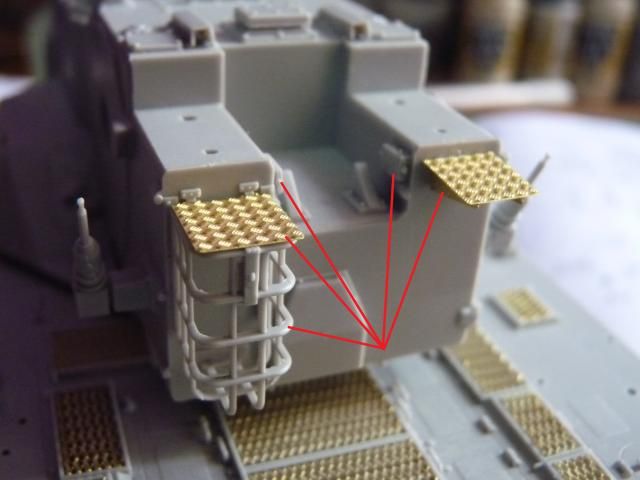
The added on mesh armours were made from Eduard P.E. Mesh sheet and Ever Green Stryene Channels ( or angular U ). The P.E meshs were cut to size, the channels super glued on and used the same channels for legs (for want of better words) which ends were superglued on. The rust effects are done by first spraying the Vallejo black primer and then sponging the Rust tones from darkest to lightest. Vallejo Panzer Aces rust tones were used.
For weathering, I wanted to show a vehicle gone through very harsh fightings pushing back the Russians advance so I made it all beat up and chipped drastically. For finish, I wanted to show a vehicle involved in retaking Berlin so I put on a lot of dusts and debris as can be expected from urban fighting.
I also put on some wood applique armour on the lower glacis plate. I used the actual wood from the ice lollies sticks ( whatever they are correctly called as I can't remember the correct term right now).
It's time for the photos -
(If you think some are small, just click on them )


The running gears -


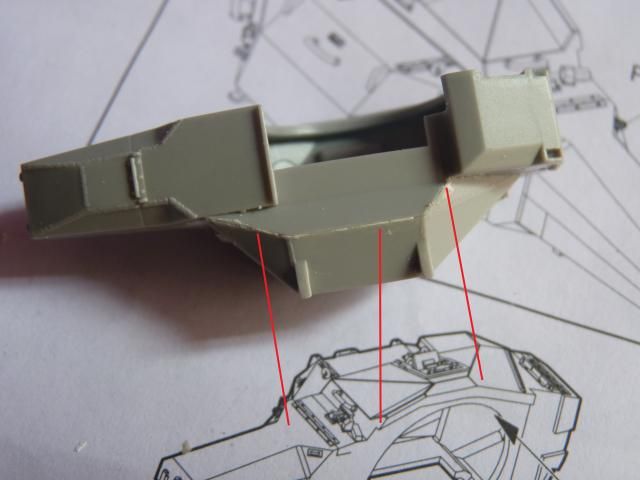
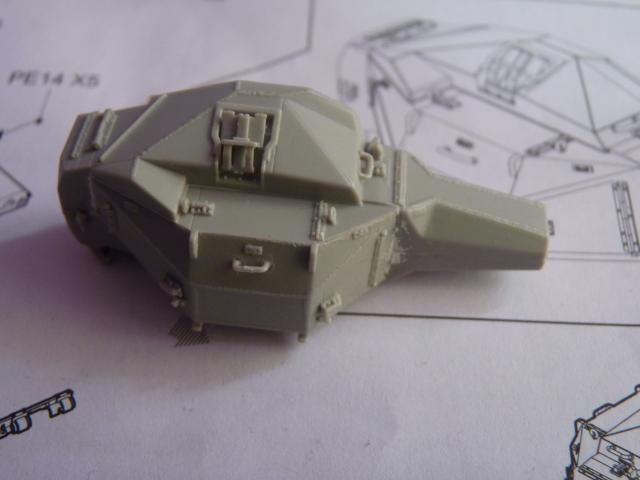
And here are the parts I added on to customised it -


The on-board tools and the cable -


The exhaust -

And as usual, my show case photos from various angles -


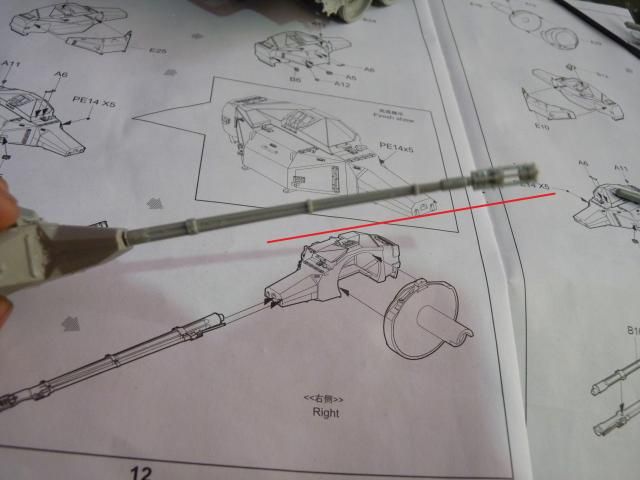
Well, that's all I can say about this. With hindsight, I should never have made the gun look too long. I wanted to show a sizable length to depict the awesome firepower of the 12.8cm Pak44 but I messed up with measurement when attempting to adapt the metal barrel to the Mantlet.
I wanted to go for the HobbyBoss KingTiger Indi-tracks but since they would cost me a further £7 ( Posted ), I just opted out of it. I do regret that decision as the indi-tracks would have look much better than the vinyl I used out of the box.
I also totally forgot to put on welding seams where the legs of the armours meet the hull and turret. Lord, I feel like banging my head against the wall for forgetting such important stuff.
Another one I have to nitpick is that I should have put chippings on the woods to show the actual wood underneath. Now, it just looks silly without any chippings.
Apart from these four points, I am absolutely happy with this baby. It looks means and it looks unique ( well, even if a little ) by the addition of the Mesh armours. This is one baby I will be proud to have on my shelf or another one shelf should anybody would buy it as I have plans to sell it ).
Speaking of selling, I am selling some of my built models so if any of you are interested, shoot me an offer on ebay -
http://www.ebay.co.uk/usr/romance6688
Internationals are welcomed as well but most likely have to be communicated via email and paypal as I did not turn on international shipping on ebay. So shoot me an offer on ebay or from email if anybody's interested.
Thank you guys for always supporting me. Thank you dear readers for your patronage as well.
Until the next post.
Read more >>
Right ... so I got a new finished kit to show you dear readers. In all honesty, I am so stressed and will be until the 11th of September. I have a minimum of 18,000 words dissertations to write and I only done like 10,000 words on it, therefore; I AM FREAKING OUT. To calm down, I finished up this E-75 and took photos the other day and now, finally posting about it.
As u all know, there is only one E-75 kit available in 1/35 and it has been widely reviewed by better modellers so I don't think any special introduction or mini-review is necessary.
I wanted to go crazy with the paint scheme as this is a paper panzer but I cannot go over the words of she-who-must-be-obeyed ( only girlfriend in my case, no wife yet :P ). Girlfriend said she wants to see this in dark green and dark yellow. I tried negotiating for olive green as you all know olive green is far more correct but she didn't budge from dark green. I dare not cross her, therefore, dark green it is. Haha. I used Revell Aqua (Acrylic) Dark Green thinned with the fantastic all-around acrylic thinner from Ultimate Modelling Product. The dark yellow is a mix of Tamiya Dark yellow and other yellows and brown that I could find as I was running dangerously low with Dark Yellow.
The addition of the add-on armour was greatly influenced by my Facebook friend by the name of Jason Lim. He does amazing customised vehicles and day in day out, I am inspired by him to also customised my vehicles. Take a moment and visit his blog here - LINK. The 12.8cm is influenced by the none other than the cursed game Worlds of Tank and Adam Wilder's E-75 with the 10.5cm.
The added on mesh armours were made from Eduard P.E. Mesh sheet and Ever Green Stryene Channels ( or angular U ). The P.E meshs were cut to size, the channels super glued on and used the same channels for legs (for want of better words) which ends were superglued on. The rust effects are done by first spraying the Vallejo black primer and then sponging the Rust tones from darkest to lightest. Vallejo Panzer Aces rust tones were used.
For weathering, I wanted to show a vehicle gone through very harsh fightings pushing back the Russians advance so I made it all beat up and chipped drastically. For finish, I wanted to show a vehicle involved in retaking Berlin so I put on a lot of dusts and debris as can be expected from urban fighting.
I also put on some wood applique armour on the lower glacis plate. I used the actual wood from the ice lollies sticks ( whatever they are correctly called as I can't remember the correct term right now).
It's time for the photos -
(If you think some are small, just click on them )
The running gears -
And here are the parts I added on to customised it -
The wood planks armour that I added on -
(I hope you can see the actual wood grains )
The dust and debris from heavy fighting -
The on-board tools and the cable -
The exhaust -
And as usual, my show case photos from various angles -
And as usual from me -
Well, that's all I can say about this. With hindsight, I should never have made the gun look too long. I wanted to show a sizable length to depict the awesome firepower of the 12.8cm Pak44 but I messed up with measurement when attempting to adapt the metal barrel to the Mantlet.
I wanted to go for the HobbyBoss KingTiger Indi-tracks but since they would cost me a further £7 ( Posted ), I just opted out of it. I do regret that decision as the indi-tracks would have look much better than the vinyl I used out of the box.
I also totally forgot to put on welding seams where the legs of the armours meet the hull and turret. Lord, I feel like banging my head against the wall for forgetting such important stuff.
Another one I have to nitpick is that I should have put chippings on the woods to show the actual wood underneath. Now, it just looks silly without any chippings.
Apart from these four points, I am absolutely happy with this baby. It looks means and it looks unique ( well, even if a little ) by the addition of the Mesh armours. This is one baby I will be proud to have on my shelf or another one shelf should anybody would buy it as I have plans to sell it ).
Speaking of selling, I am selling some of my built models so if any of you are interested, shoot me an offer on ebay -
http://www.ebay.co.uk/usr/romance6688
Internationals are welcomed as well but most likely have to be communicated via email and paypal as I did not turn on international shipping on ebay. So shoot me an offer on ebay or from email if anybody's interested.
Thank you guys for always supporting me. Thank you dear readers for your patronage as well.
Until the next post.