
Carrying on from where I left off, I decided to put everything on the hull minus the spare tracks and the on-board tools-
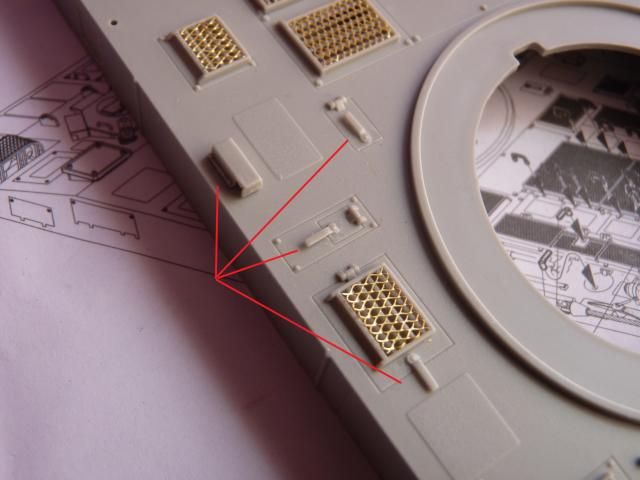
I started by putting on the handles for the many hatches on top of the hull. This is the left side -

and this is the right -
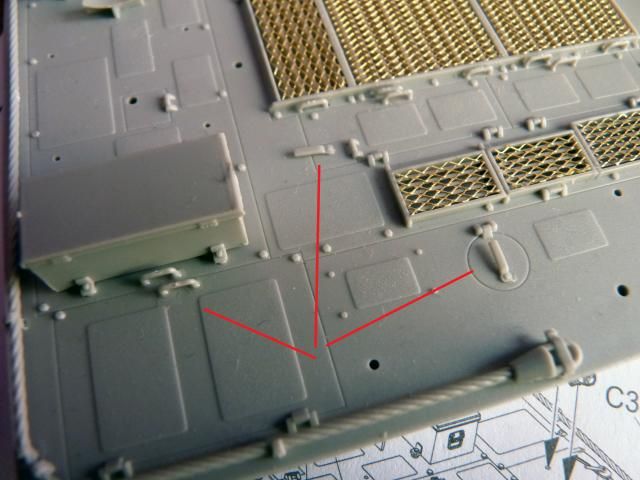
rear part of the hull, left side -
You will also notice a fire extinguisher. Be careful when putting the little handle on that fire extinguisher. Very small and very fragile.
Rear hull, right side -
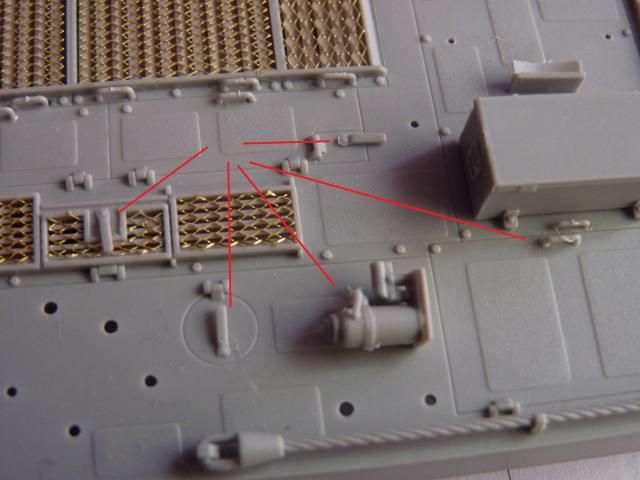
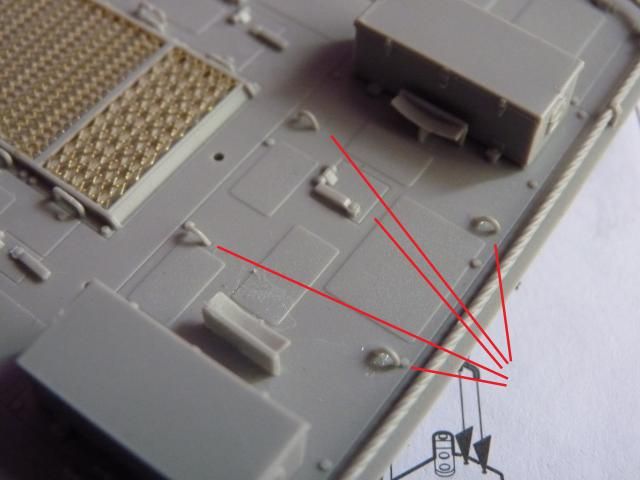
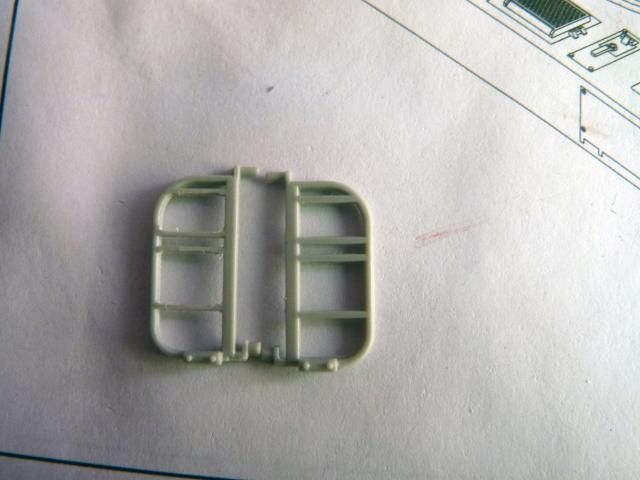
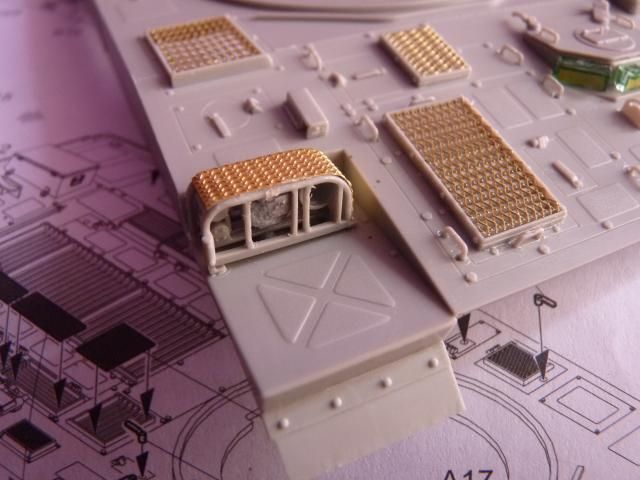
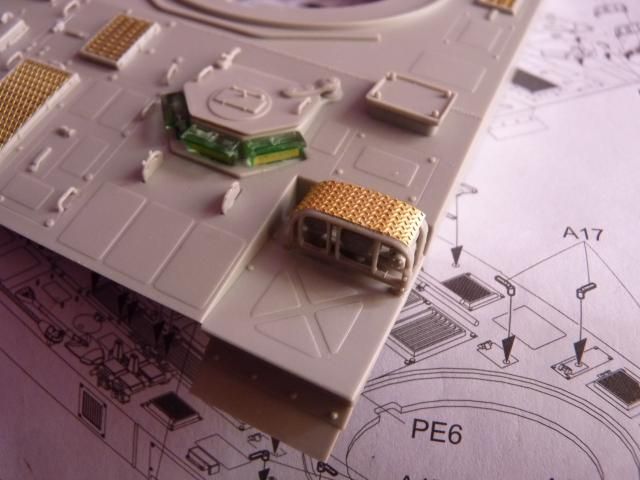
And then, I put on 14 .. ( yes 14 ) of these little grab handels on top of the big grilles -

On the very rear central of the engine deck, I had to put on very tiny little shackles. Be careful with these as well as these have flown off from my tweezers more than 3 times.
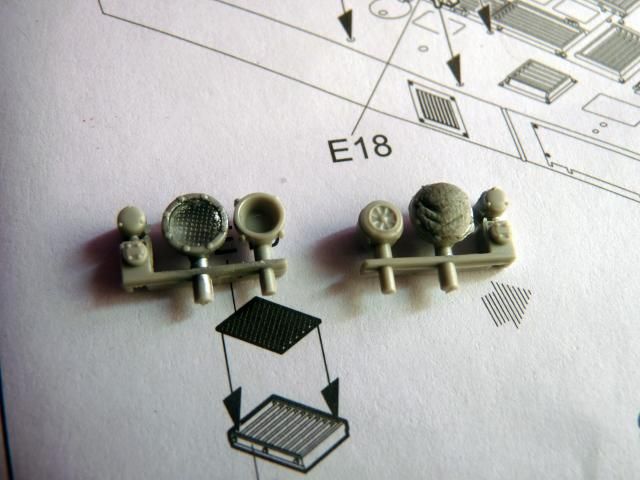
A quick glance on the kit reminded me that I still have yet to work on the front lights to I took them off, painted the inside steel and put on clear part on it and masked it with blue tac-
Now, I found a very very BIG BOO-BOO by Trumpeter.
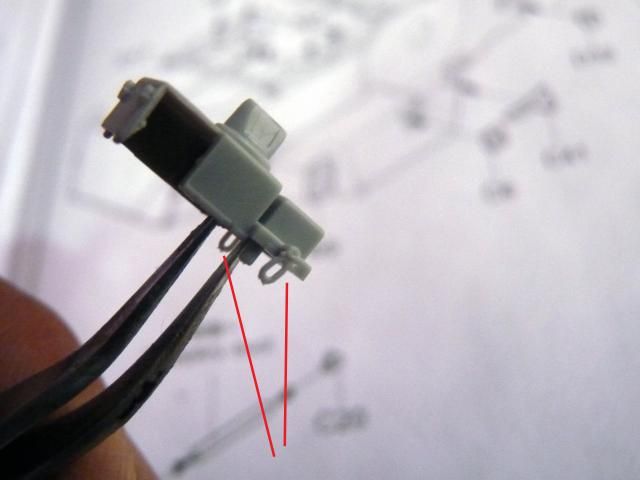
If you look at this reference photo -
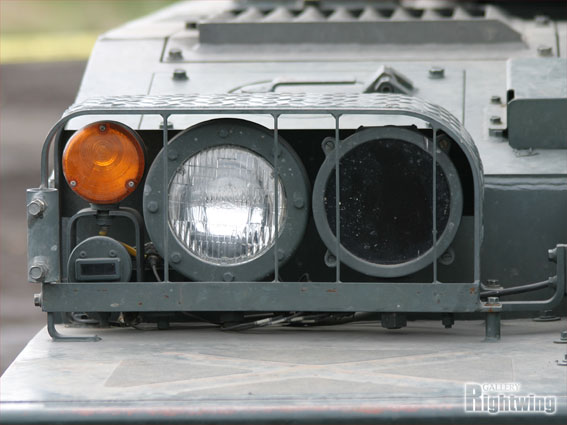
The bulb on the left is a infra-red night driving light which has its own cover. Now, the problem with this kit is, there is no clear part for it. As you can see from this photo -
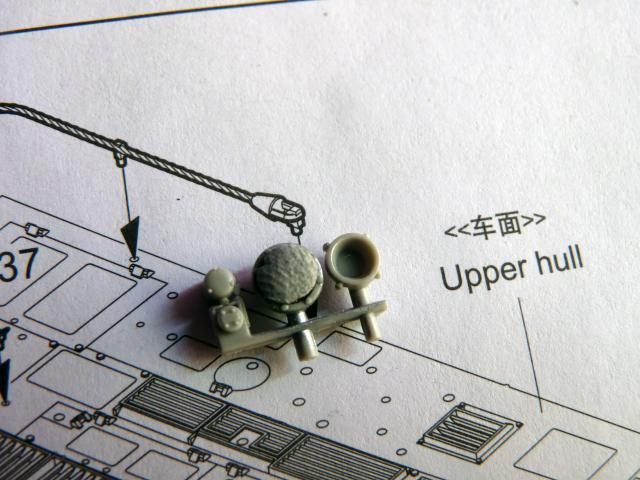
As you can see, I have already glued on and masked the normal head light but there just isn't any clear part for the IR light. I decided to just put it on and I will use Deluxe Materials Glue and Glaze once all the painting have finished. If you guys are building this, you guys might need to figure out some way to correct this boo-boo by Trumpeter.
Another prominent downfall I have noticed is that the head light guards are very thick and out of scale. Trumpy should have ( or rather could have ) provided these in photoetch. But that is nothing a hobby knife and some file can't help -
I took a photo of a before and after -
and with that done, I just put on the P.E for the roof guard of the lights. Great care must be taken when putting this P.E on and make sure they align properly. I messed up and it came out not aligned. OH well..
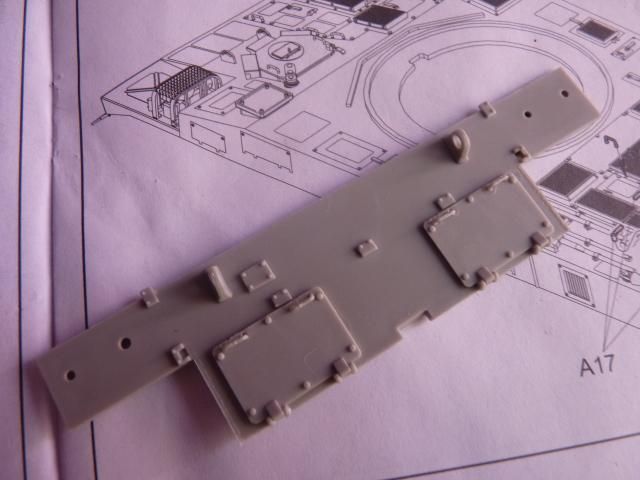
With that in mind, I turned my attention toward the back plate, put on everything I need to put on -
and that goes on along with the rear storage basket -
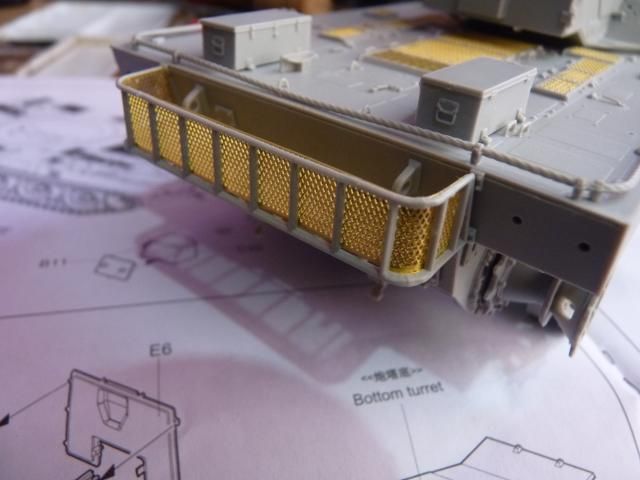
That's that for the front of the hull, the top of the hull. More pieces need to go on the rear which will come later.
I decided to go for the turret -
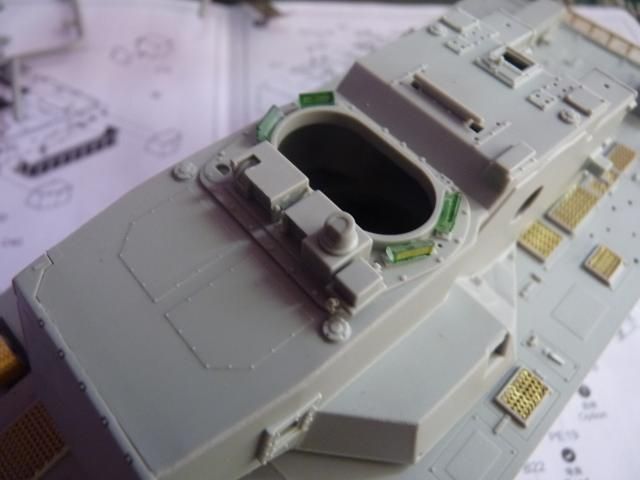
First, I had to fill in these two little parts into the slots -
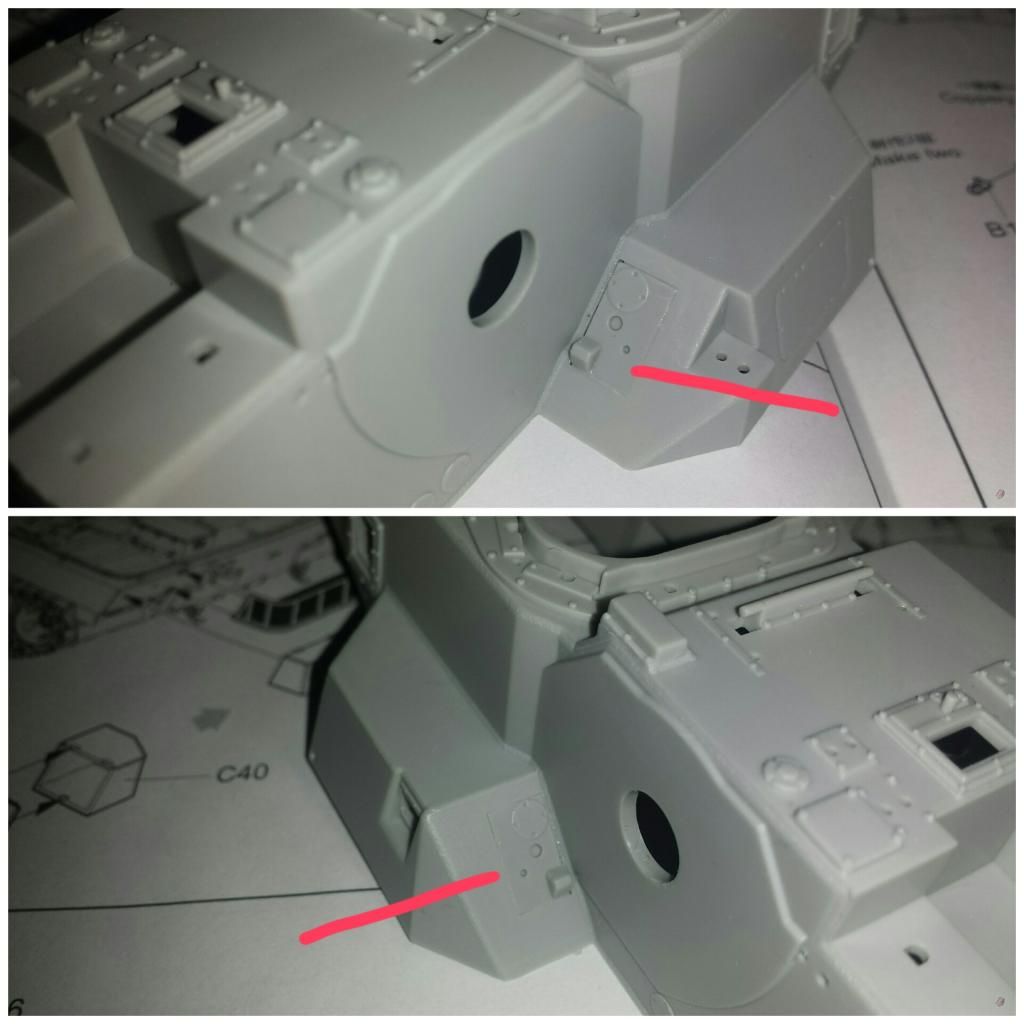
Again, exercise care when putting these on as it tends to leave a very noticeable seam.
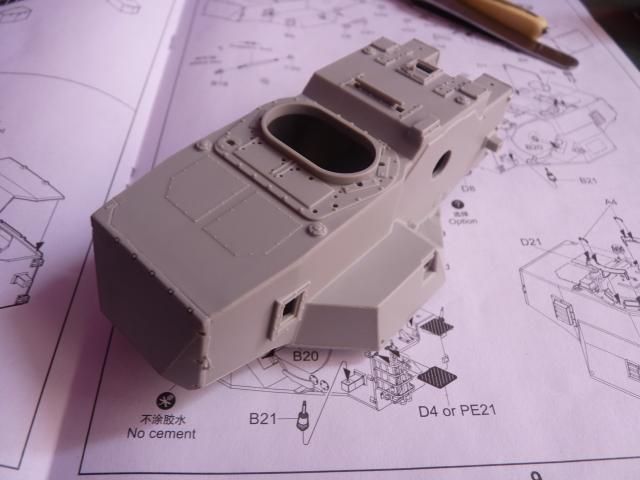
I put on the upper and lower halves along with the front hatch and the back plate of the turret -
After that, I decided to put on the many little sights infront of the turret hatch and I had trouble with these two little pats -
Exercise great care as these little parts are nearly ant size and will fly off easily.
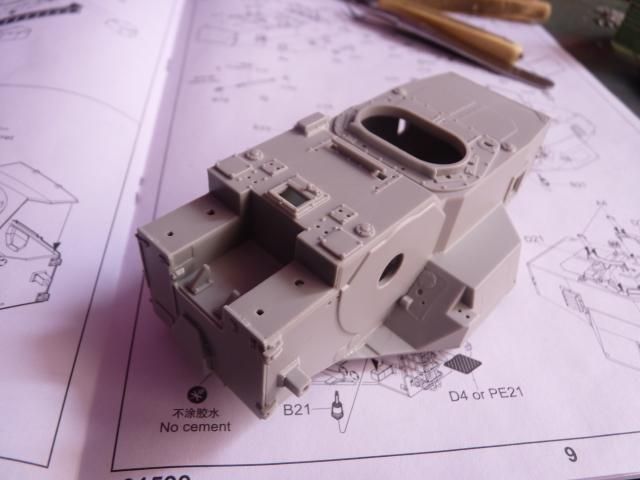
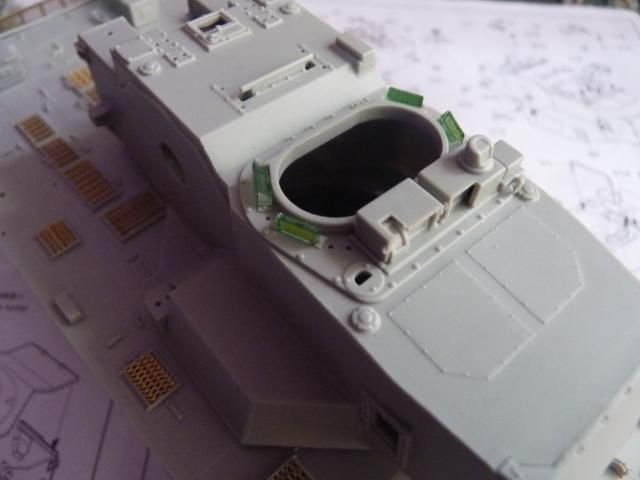
Thus, the turret look like this after the sights have gone up -
And this is how this baby looks as of now -
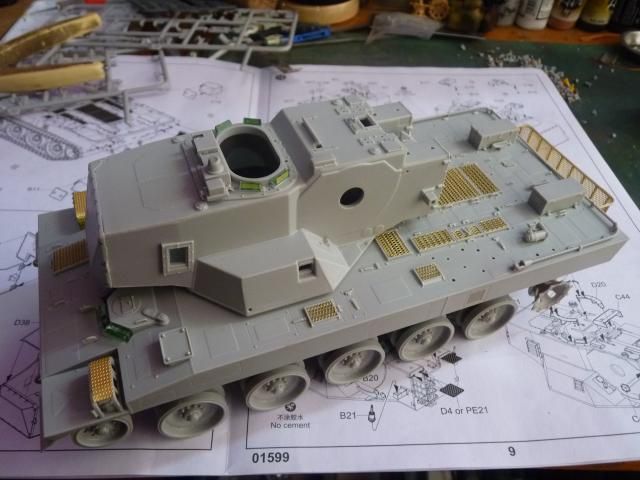
I just love how it look ... lovely little thing don't you think ?
Well, until the next update...... have a good day.
0 comments:
Post a Comment