
I will start with the JS-4 for the update -
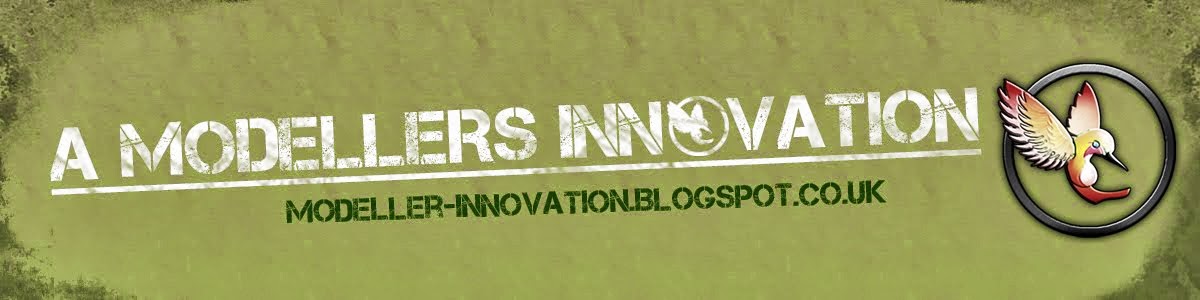
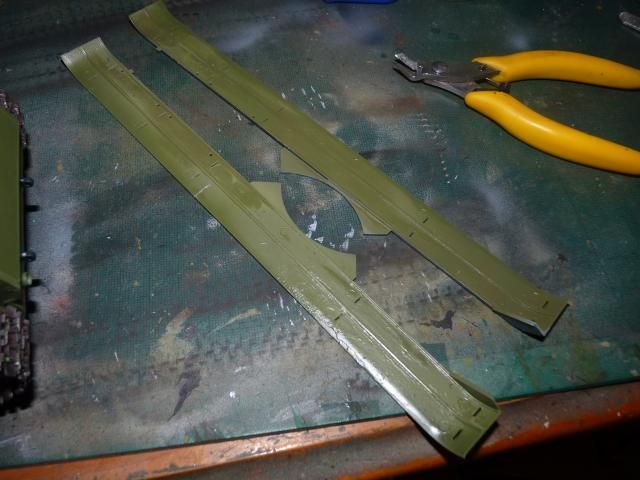
With the lower hull all done, I glued on the large fender piece with a small strip of P.E. on the front mud flap. The flaps and fenders are all one long piece ( shown with the blue arrow )
Closed up the side skirts after that. Yes, yes, I know.... if I do that, what's that point of going the trouble to have the tracks sagged? I just love side skirts alot.
Learning from past experiences with Trumpeter kits, I drilled holes over the very very hard to find locating dimples for the grab handles that will go onto the turret.
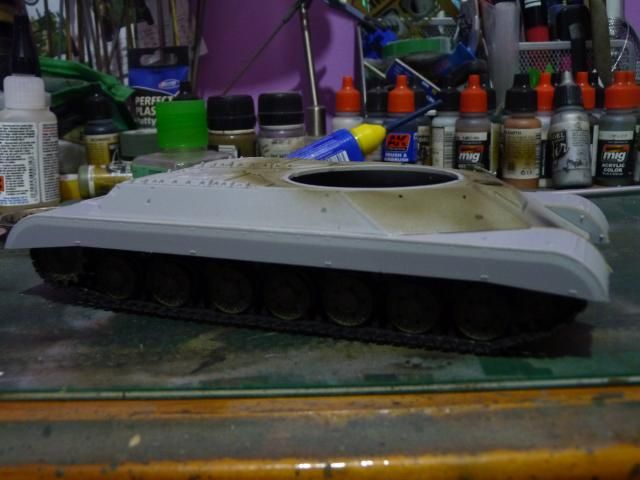
After that, I gave it a coat of just random green that's lying around so that I can tell apart the areas that will not be textured later on. After that, Tamiya putty and revell Contacta cement to the rescue.
As much as I want to use the beautiful metal barrel, I wanted to have my JS-4 in a very menacing look and since my Object 279 was a failure, I just hack-and-slash and voila -
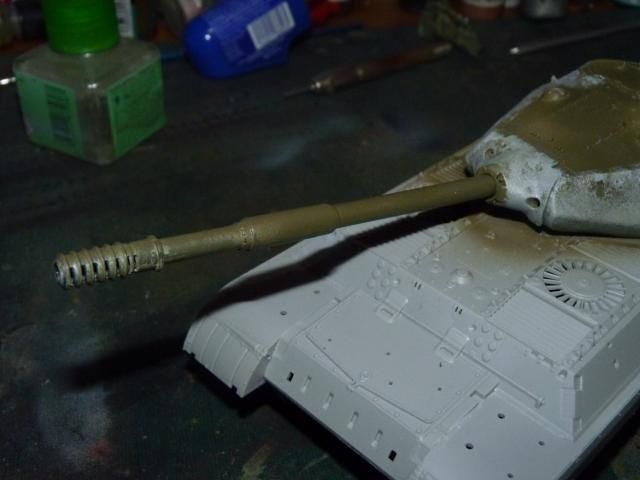
JS-4 now sporting the 130mm. The gun was initially very long and the over hang was too impractical so I shortened it to the same length of its original 122mm gun.
The only draw back of the turret assembly is that there is not Poly cup ( or PC cup or whatever they are called) and even though I'm using a barrel of pure plastic, the gun keep hanging down due to the weight and the very lose gun elevation mechanism. I had to use what I always use for counter weight - two part epoxy -
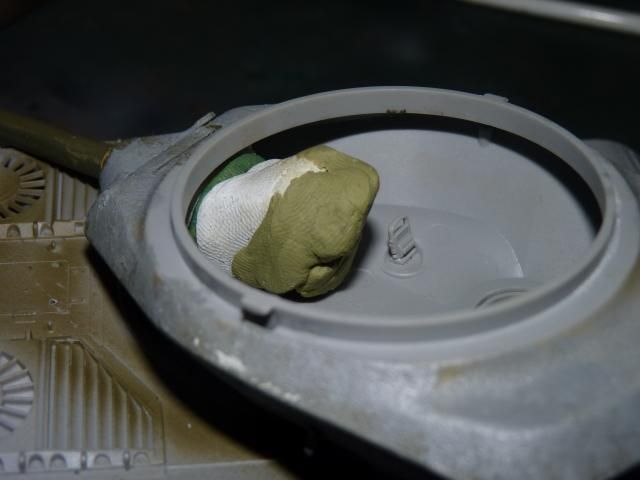
I put on a touch too much and now, the gun can't depress any more than 2 degree as the huge putty block is touching the turret roof. LOL. Not complaining, I'm happy as long as the gun is not loose and hanging down any more.
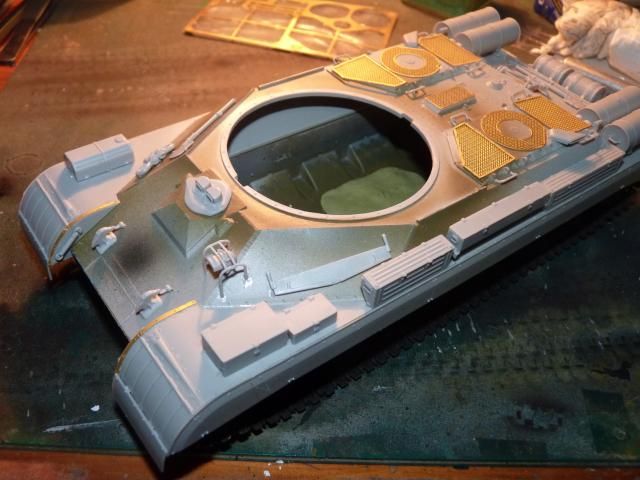
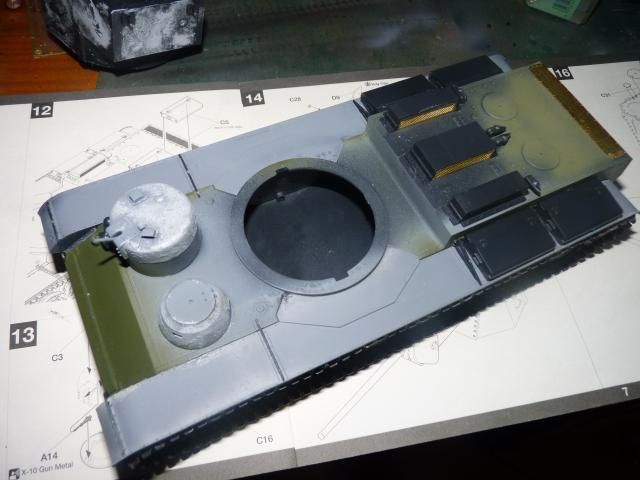
After that, comes the fuel tanks on top of the rear hull -
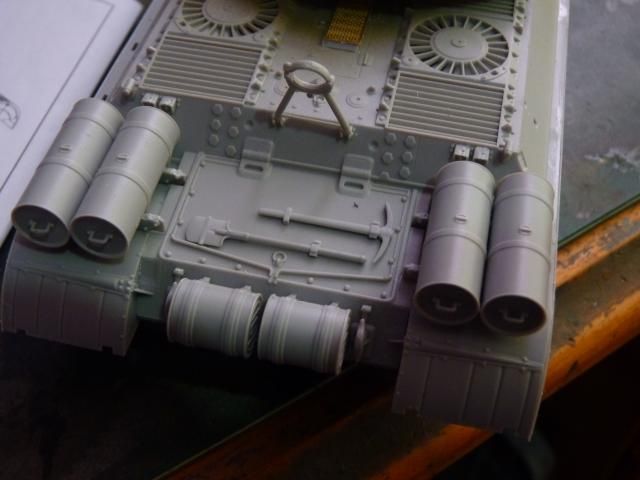
and finished off the read deck with exhaust mufflers and the P.E
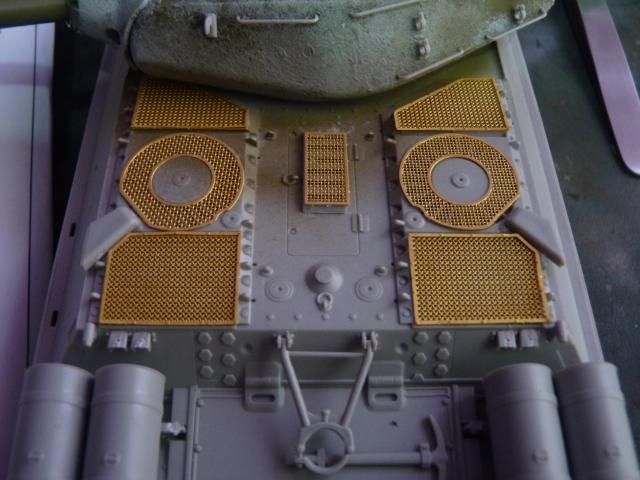
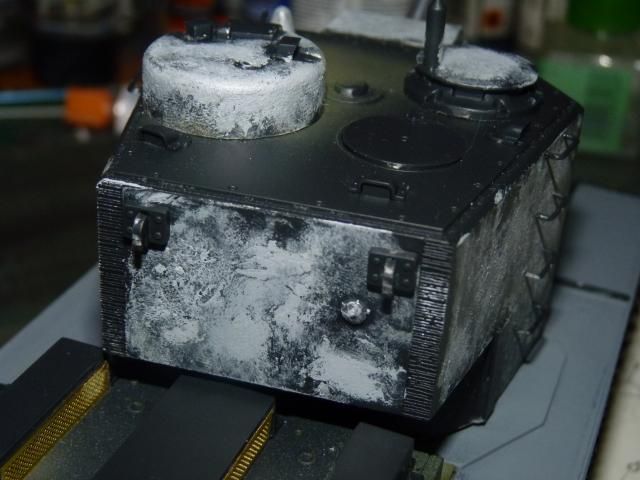
Decided to finish the turret and put on all the necessary things ( you can clearly see the different colours of the entire turret)-
After that comes the storage boxes and any other necessary parts on the front hull -
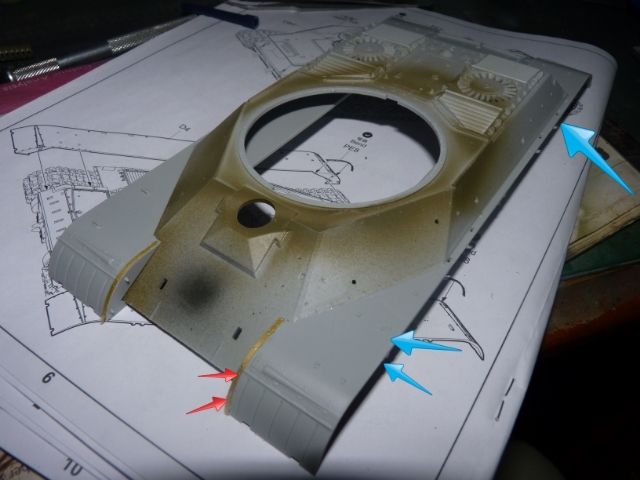
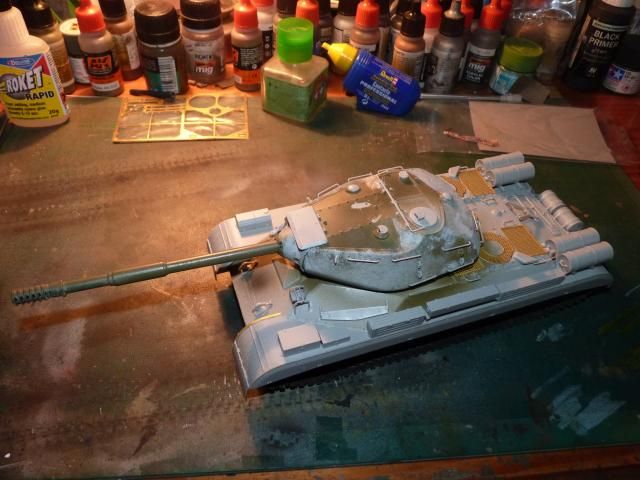
And this is how my JS-4 looks now -
happy with that, moved on the KV-5.
First step is to paint the underside of the rather long fenders -
Glued them on along with the storage boxes and the raised engine intake structures -
If you guys are building this, be prepare to exert alot of force putting on the fenders to the slots, or better yet, make sure you do something to the male pegs or the slots to accommodate a flawless attachment.
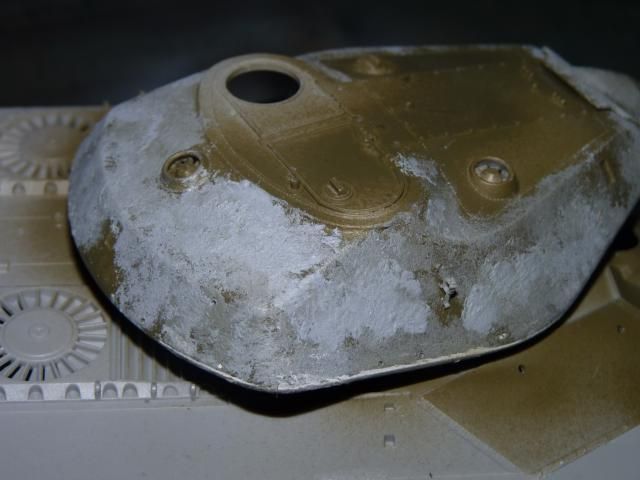
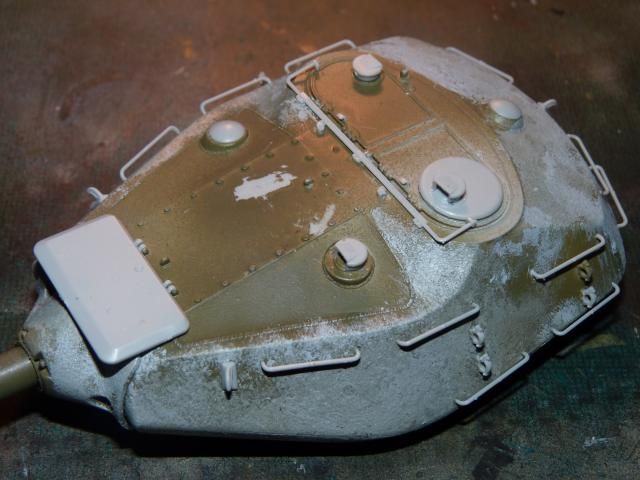
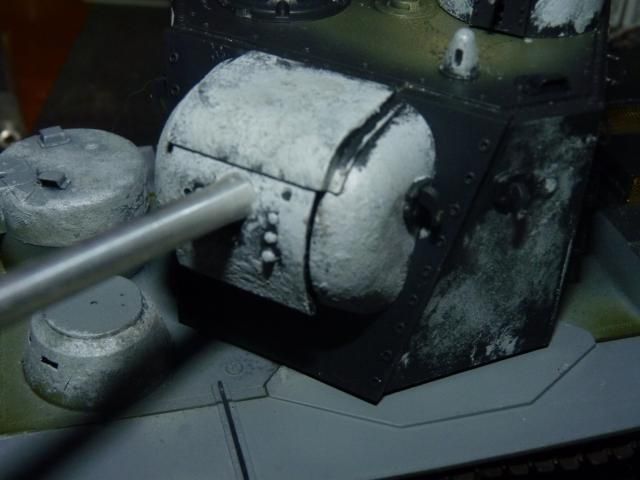
After that, I totally go to town on the cast structure on the mantlet -
more cast texture on the mini turret -
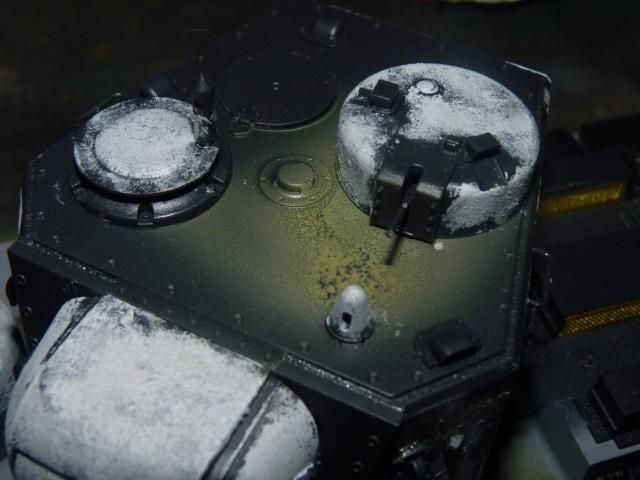
decided to roughen up the side walls of the turret as well-

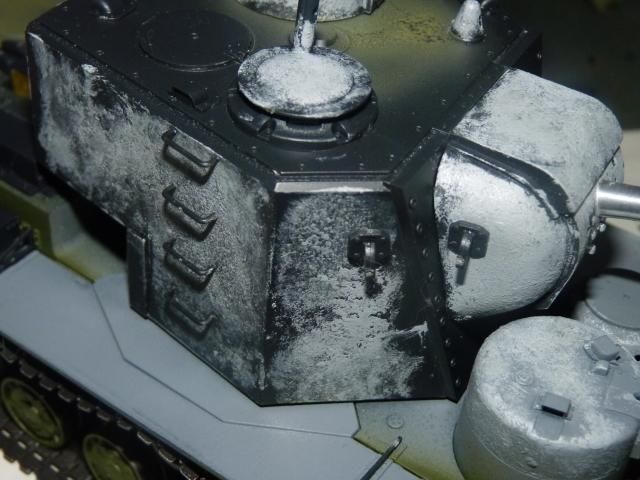
I know they wouldn't be casted but I decided to rough them up to show the low quality of the steel. I believe it is the reason because I usually see soviet armour build with roughed up steel plate.
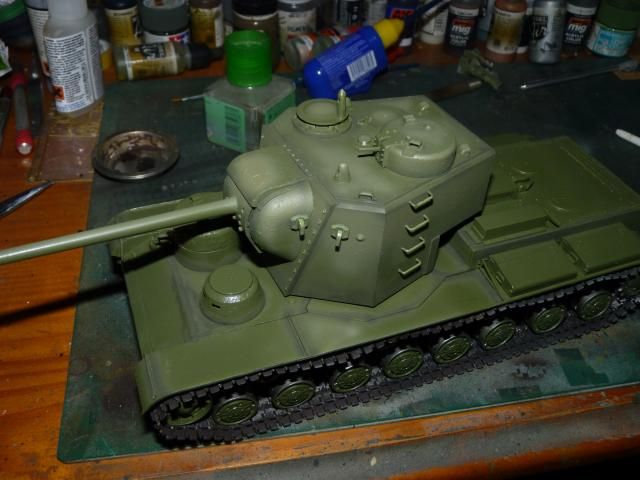
And to close this update-I painted the entire thing with a base mix for the Russian green. By this point, I have only finished putting on the darker shade of green and lighter shade on the turret. The hull is yet to come.
That's for now. Catch ya all later.
0 comments:
Post a Comment