
Good day to you guys. Hope you all having a nice sunny, summer days. Weather here in London is crap though.
Anyway,I just finished another Kit. It's the GCT 155mm AUF1 from MENG. I'm not going to put in here how is the kit as a lot of review has already covered that when it came out. However, if you are building this, glue the infernal suspension (unless you want to put this on a diorama) and invest in another track set ( either metal tracks or other plastic offering).
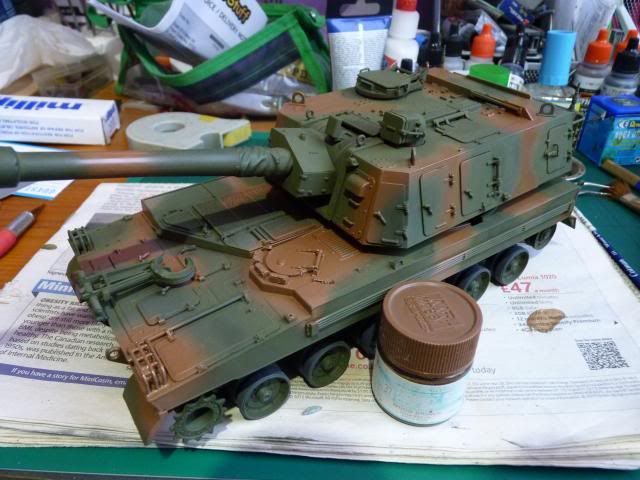
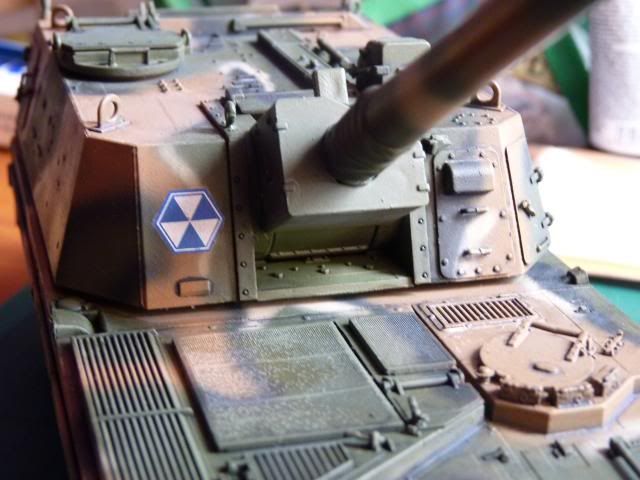
The kit was built mostly out of box apart from the Metal Barrel from RB Models, a scratch build wooden box and a tarp made from putty.
For colour, I bought some AMMO paint to test it out. The paint has a similar smell to the Das Modelling Clay so I presumed it is made from Cellulose ( hopefully not fibres). The paints are good but I don't think it is for me. I can't seem to paint fine line with it and I just can't get the consistency right. It's already pre-thinned and kinda hard to control. It gives a very smooth and nice finish though, a very lovely finish. It's the spraying and control that I had trouble with.
The interior is painted using Tamiya light blue and Vallejo ModelColour White. Tamiya light blue has a very strong blue tone ModelColour white was use to bring it down. The chipping inside and outside are done with AMMO chipping colour. The AMMO Chipping, however, was a delight to use. I think it's much better than what we have always used; Vallejo Model Colour Panzer Series German Cam. Black Brown.
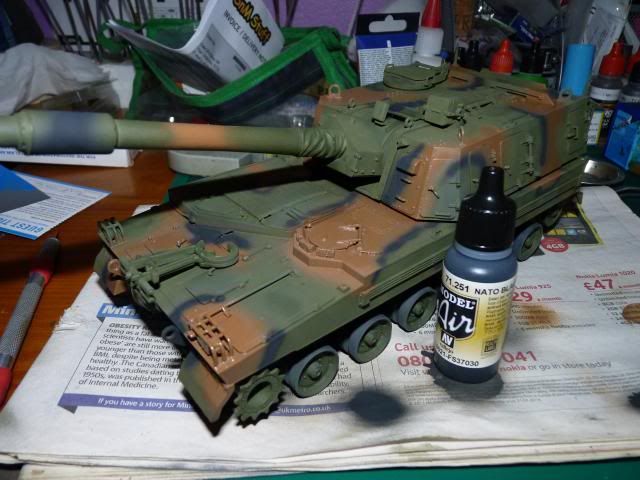
Since I knew this was going to be a hard edge, I bought the pre made masks from J's model works. They are not perfect as the pattern are somewhat wrong but they do the job pretty well. Since I am not a rivet counter, I am happy with them.
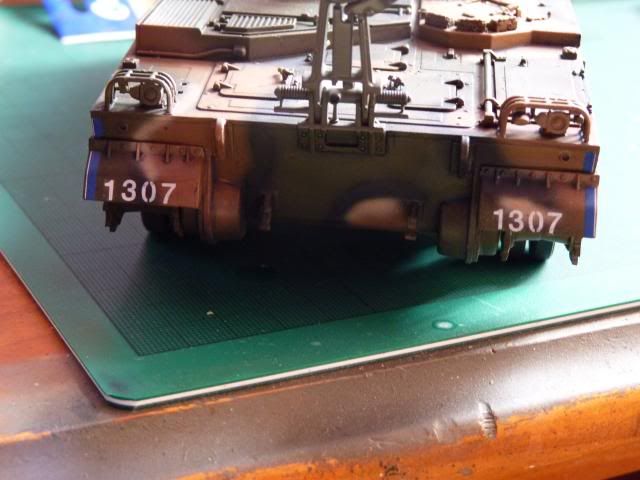
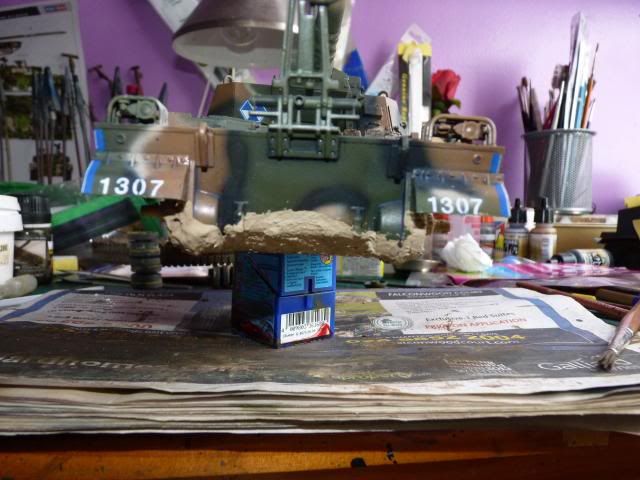
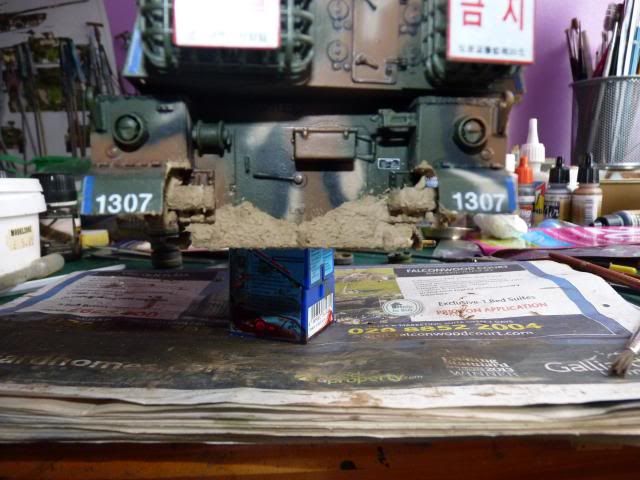
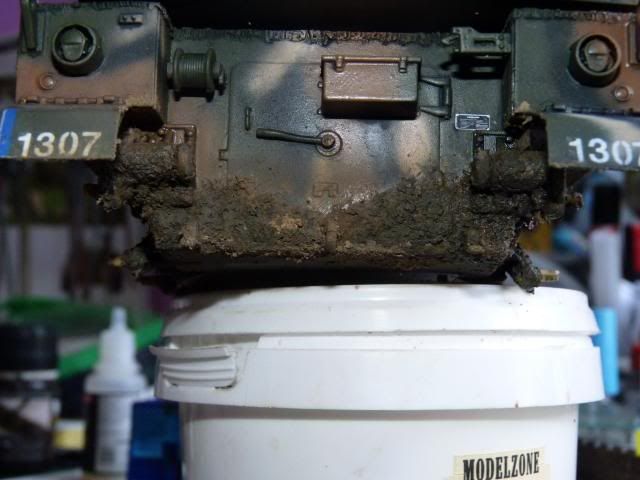
Wanting to show a used up vehicle, I opted to use the IFOR decals from the kit and put on the '' Mont Igman 1995 '' decals to depict a vehicle used in the IFOR mission. As such, I decided to go heavy on the chippings, mud and dusts and throw some busy stowage on the little rack at the back.


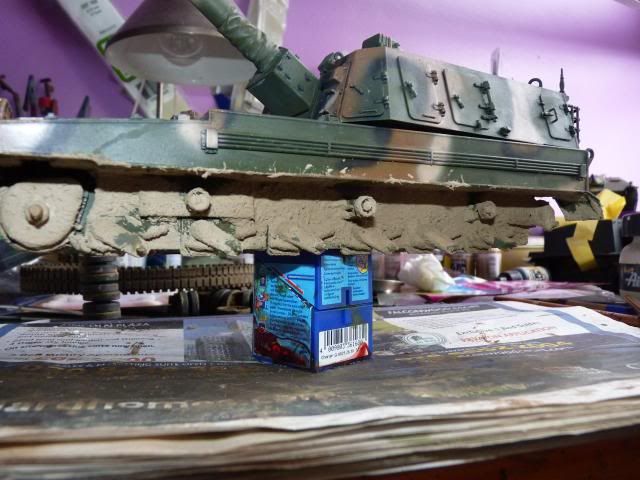
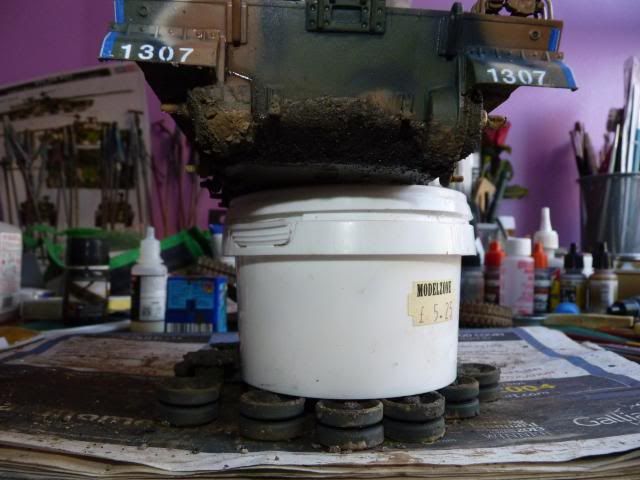
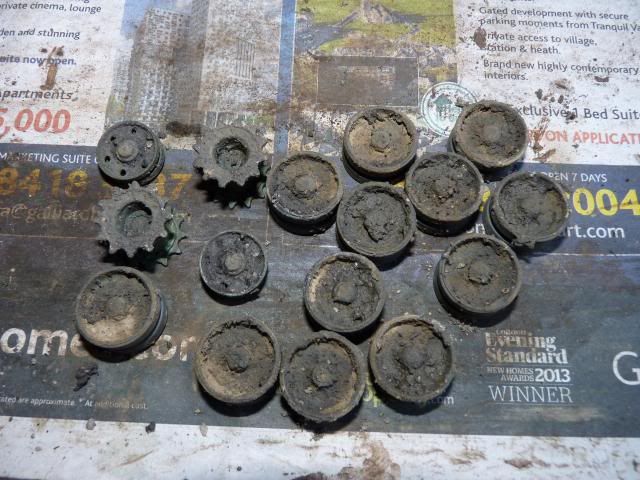
The running gears -


The scopes -


The interior -


The exhaust -


The on board tools -


The Stowage on board -


The machine gun -

The fuel stains on the engine deck -


And as usual, my show case photos from various angles -


And as usual from me, the Gary Wintin Shot -

Well, that's all I can say about this. As you all know, my patience is my bane so the usual hiccups are met but nothing I can complain. I as much the kit is nice, the plastic are really soft. Most of the smaller pieces are very fragile. The most annoying thing was the track. That was such a let down. The track alone made me so angry with the kit that it messed up my good vibe and I forgot to put on rear lights. Too many a time the tracks came off and pisses me off to no end which resulted in a very sloppy job on the Machine gun ( too pissed off to do a good job on the MG) and insufficient weathering on the tracks it self. I am so not happy about that.
Read more >>
Anyway,I just finished another Kit. It's the GCT 155mm AUF1 from MENG. I'm not going to put in here how is the kit as a lot of review has already covered that when it came out. However, if you are building this, glue the infernal suspension (unless you want to put this on a diorama) and invest in another track set ( either metal tracks or other plastic offering).
The kit was built mostly out of box apart from the Metal Barrel from RB Models, a scratch build wooden box and a tarp made from putty.
For colour, I bought some AMMO paint to test it out. The paint has a similar smell to the Das Modelling Clay so I presumed it is made from Cellulose ( hopefully not fibres). The paints are good but I don't think it is for me. I can't seem to paint fine line with it and I just can't get the consistency right. It's already pre-thinned and kinda hard to control. It gives a very smooth and nice finish though, a very lovely finish. It's the spraying and control that I had trouble with.
The interior is painted using Tamiya light blue and Vallejo ModelColour White. Tamiya light blue has a very strong blue tone ModelColour white was use to bring it down. The chipping inside and outside are done with AMMO chipping colour. The AMMO Chipping, however, was a delight to use. I think it's much better than what we have always used; Vallejo Model Colour Panzer Series German Cam. Black Brown.
Since I knew this was going to be a hard edge, I bought the pre made masks from J's model works. They are not perfect as the pattern are somewhat wrong but they do the job pretty well. Since I am not a rivet counter, I am happy with them.
Wanting to show a used up vehicle, I opted to use the IFOR decals from the kit and put on the '' Mont Igman 1995 '' decals to depict a vehicle used in the IFOR mission. As such, I decided to go heavy on the chippings, mud and dusts and throw some busy stowage on the little rack at the back.
Well, that's about as much I can sum up about the build.
I'm actually not that satisfied with what I did but I ran out of fuel while weathering this and I just wanted to call it done. I'm glad that it is at least a little bit presentable.
It's time for the photos -
(If you think some are small, just click on them ) The interior -
The exhaust -
The on board tools -
The Stowage on board -
The machine gun -
The fuel stains on the engine deck -
And as usual, my show case photos from various angles -
And as usual from me, the Gary Wintin Shot -
Well, that's all I can say about this. As you all know, my patience is my bane so the usual hiccups are met but nothing I can complain. I as much the kit is nice, the plastic are really soft. Most of the smaller pieces are very fragile. The most annoying thing was the track. That was such a let down. The track alone made me so angry with the kit that it messed up my good vibe and I forgot to put on rear lights. Too many a time the tracks came off and pisses me off to no end which resulted in a very sloppy job on the Machine gun ( too pissed off to do a good job on the MG) and insufficient weathering on the tracks it self. I am so not happy about that.
I couldn't keep building if not for my supporting friends and comrades. Thank you guys for always supporting me. Thank you dear readers for your patronage as well.
Until Next time.